
Muse is designed to create the easiest, fastest workflow of any hobby laser on the market. For some, confusion comes when power, speed and other settings are required, often because the operator doesn’t understand how they differ depending on whether they are raster (engraving) or vector (cutting) settings. So let’s take a look at each one to better understand your laser settings. This blog will be a two-part series. First we will look at settings for engraving and in the next blog we will examine vector settings.
Engraving Properties
Engraving - also called rastering - is the process of creating a surface image on material without cutting through the material entirely (aka vector cutting). This process requires setting power and speed, just like vector cutting, but also introduces the added settings of resolution and some photo engraving options, such as dithering.
Setting Engraving Properties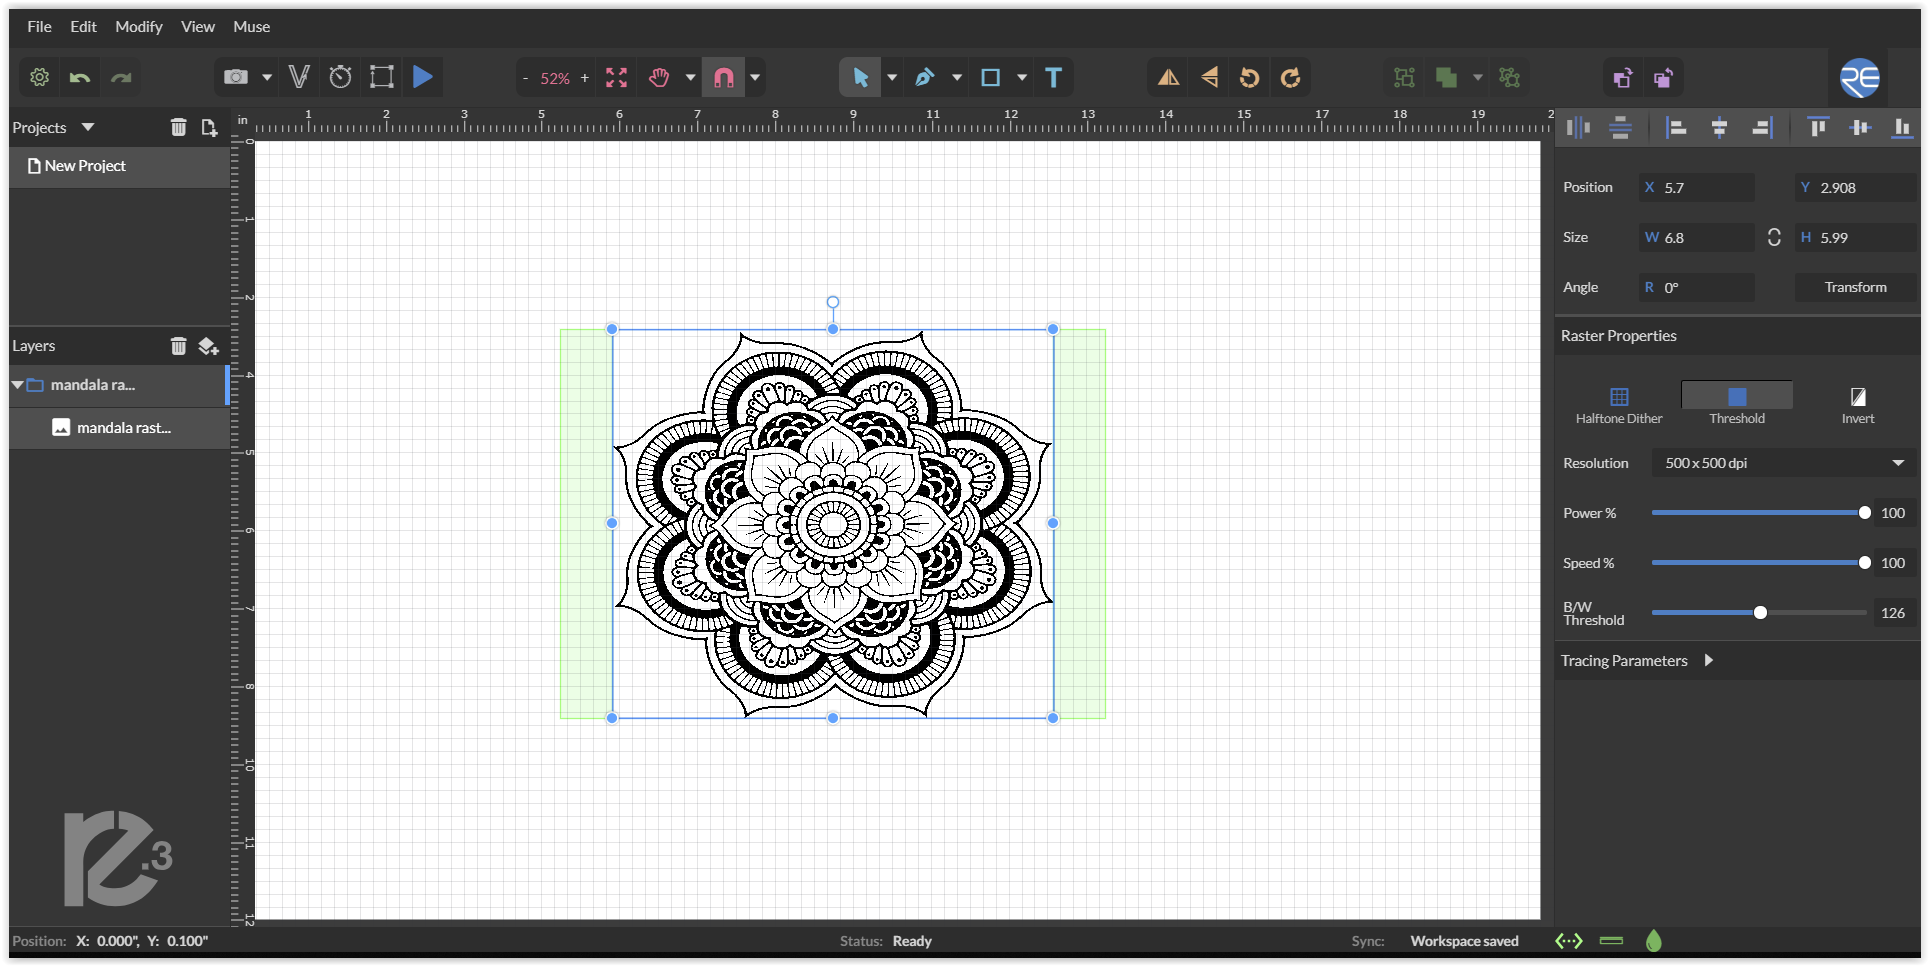
When using RetinaEngrave 3.0, clicking an object (design image) in the workspace will allow you to access that object properties tab. The software will identify if the object is a vector or an engravable object and present the appropriate properties window. Assuming your design is a engravable raster, the following settings will present themselves:
 Setting Engraving Power
The power settings determine the output of the laser tube. A 100% power setting will create a deeper engraving while lower settings will create more surface level engravings.
Setting Engraving Speed
Speed settings determine how quickly the laser head will move. For the fastest engravings, 100% is ideal. However, faster is not always better when engraving. Lowering the speed will allow you to create deeper engravings, as it allows the laser beam to be in contact with the material for a longer period of time.
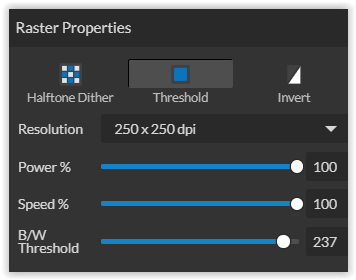
Setting Resolution
The resolution of your photo engravings is largely determined by the DPI (Dots Per Inch). DPI options include 250, 500, and 1000. The more dots per inch, the higher precision and quality of your images, while a lower DPI will process and engrave faster. Remember that with a higher DPI (1000), the laser is in contact with the material for a longer period of time and may result in deeper engravings than with a lower DPI (250). Speed and power should be compensated for different DPI settings. The software’s default resolution is set to 250 DPI.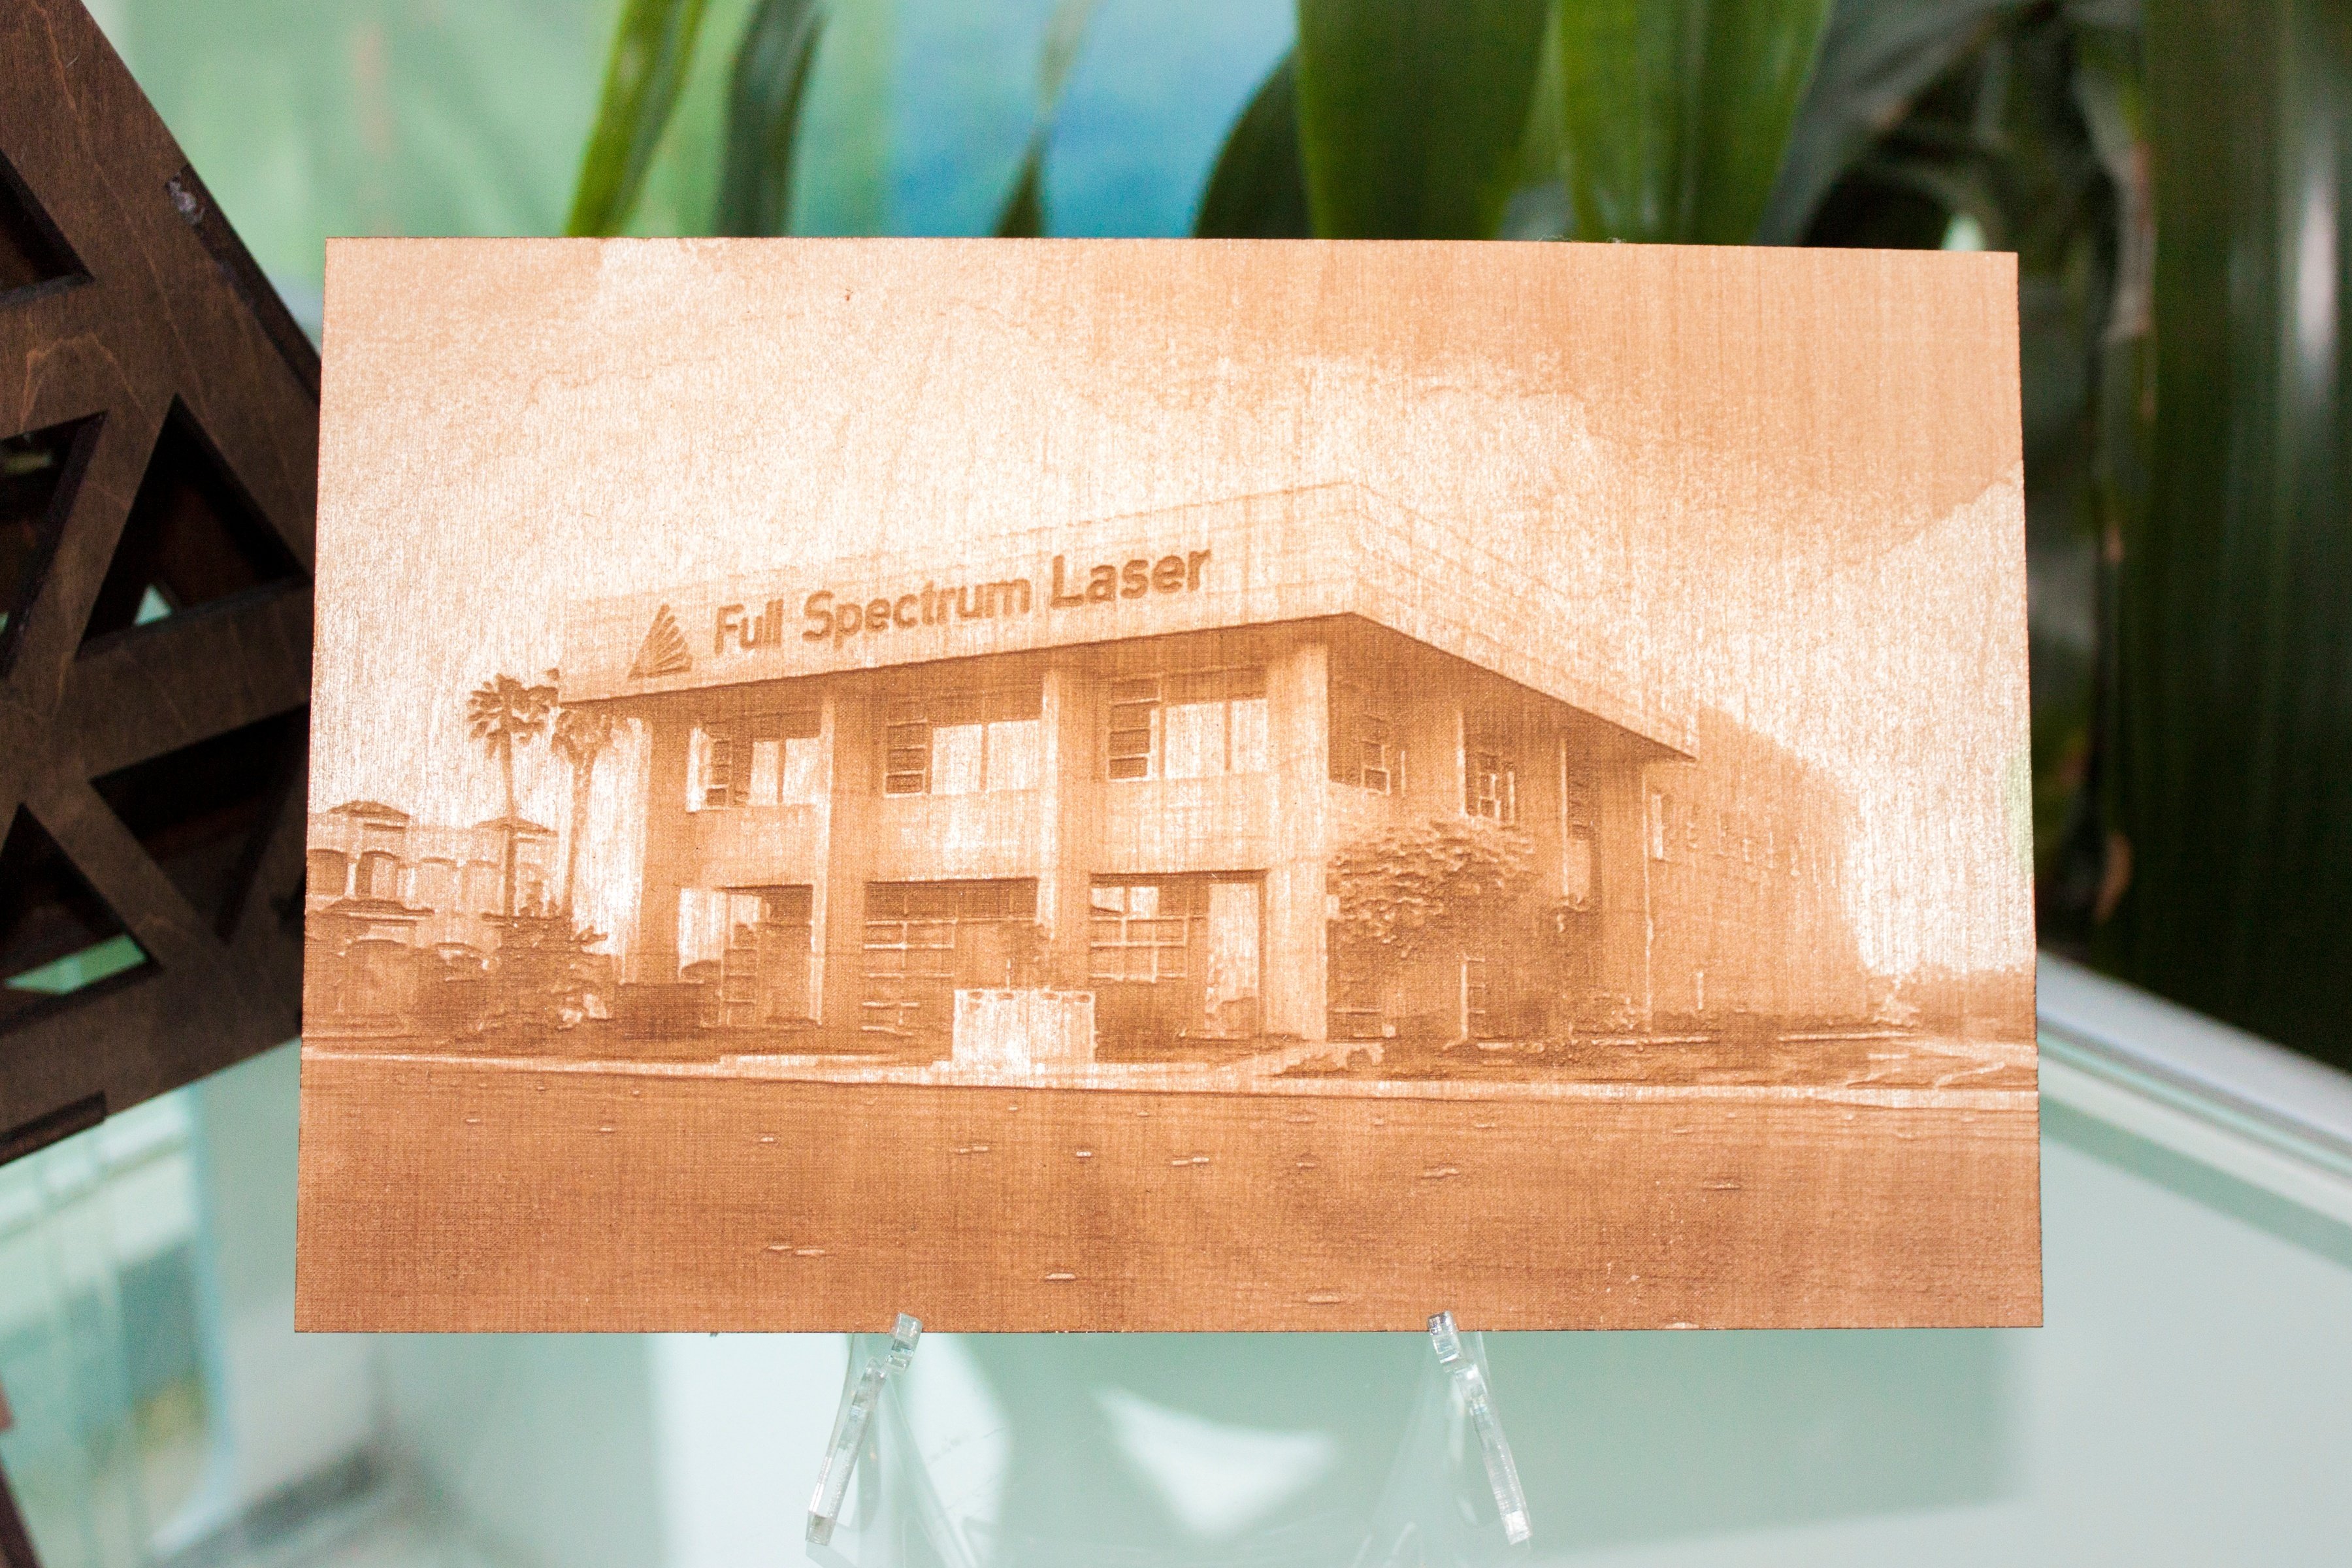
Applying B/W Threshold
At this moment, the image is still displayed in black and white. The black and white raster feature is great for logos, text, or simple high contrast images that only appear in a single color.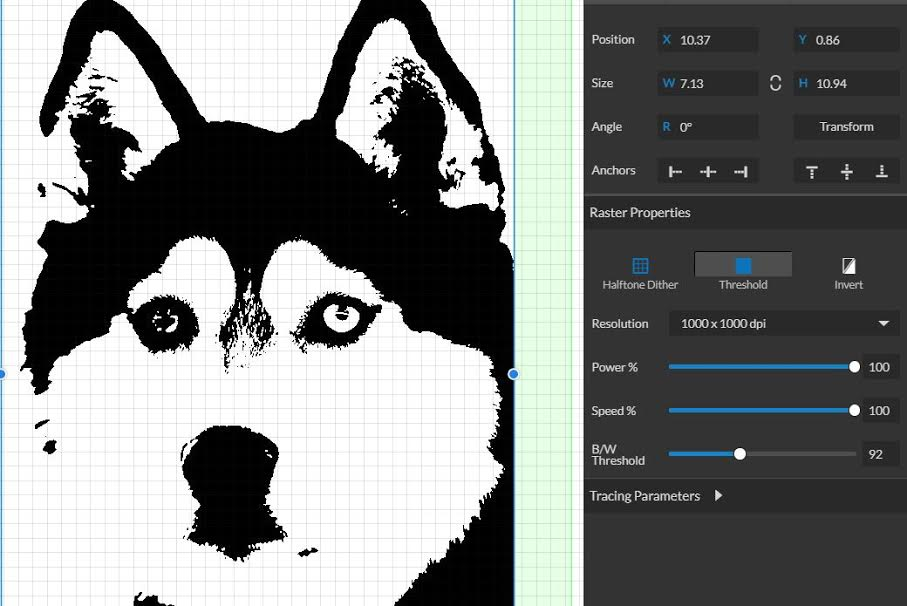
You can adjust the threshold of what’s considered black, and what’s considered white, by selecting your image and clicking “Threshold”. This will bring up a B/W Threshold slide bar, from which you can adjust B/W threshold to your liking.
Dithering Options
For images that have shadows and depth, it’s ideal to use dithering. Dither engraving creates a series of dots similar to newsprint. This effectively creates a grayscale that is ideal for photo-realistic engravings. To engrave an object, click the engraving button. You can then adjust the engraving with the Blur, Edge and Intensity slide bars.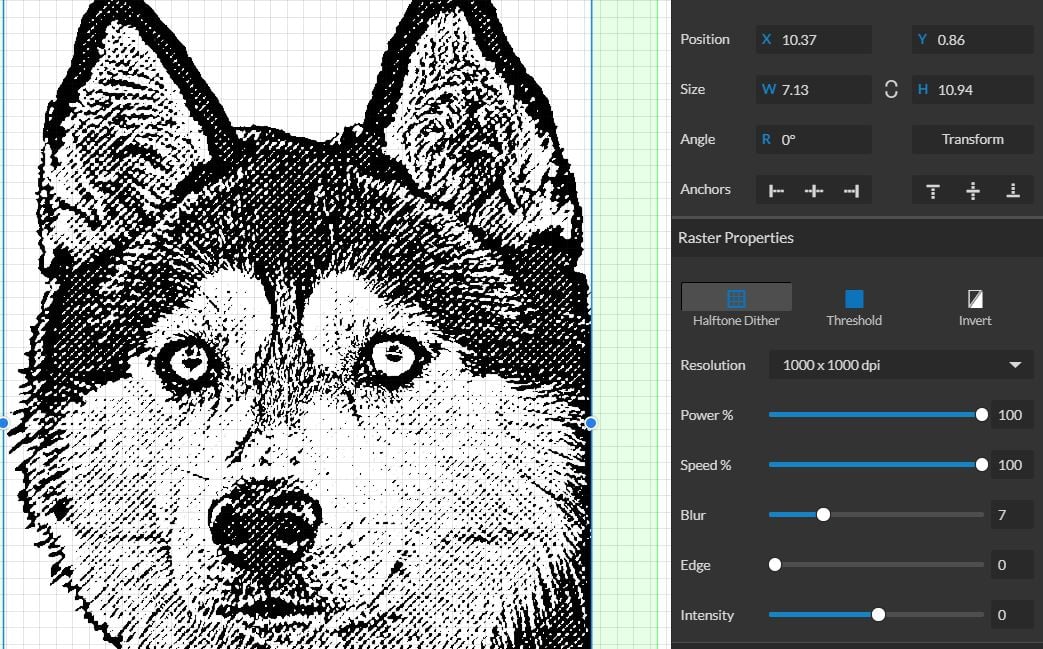
Material Testing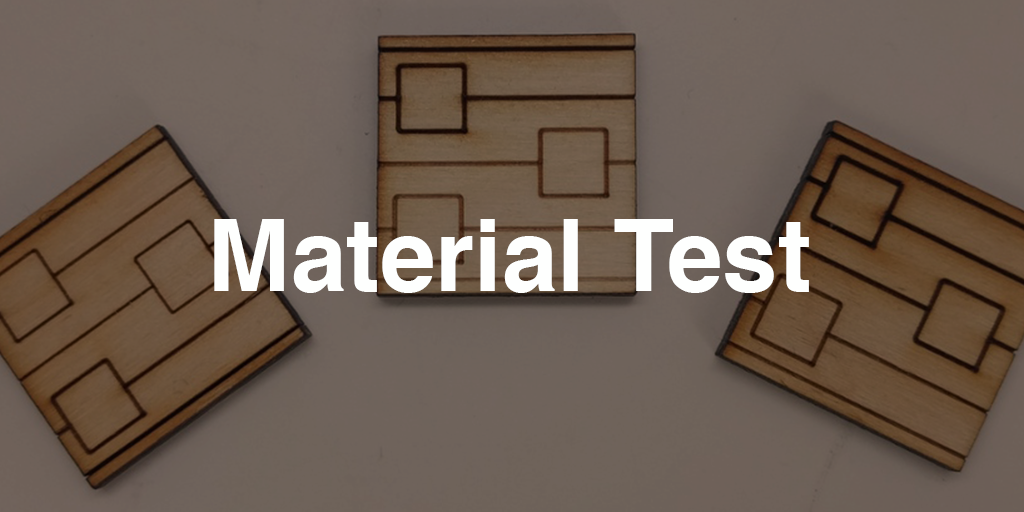
As always, settings will vary with your tube wattage and type of material. It’s best to test on an inconspicuous part of your material before creating your final piece. Once optimal results are discovered for speed, power and current, through material testing, record the settings for
each in a materials log.
Get the most out of your laser engraver with Laser 101 and discover free design tips and files, video tutorials, certificate programs and more blogs.