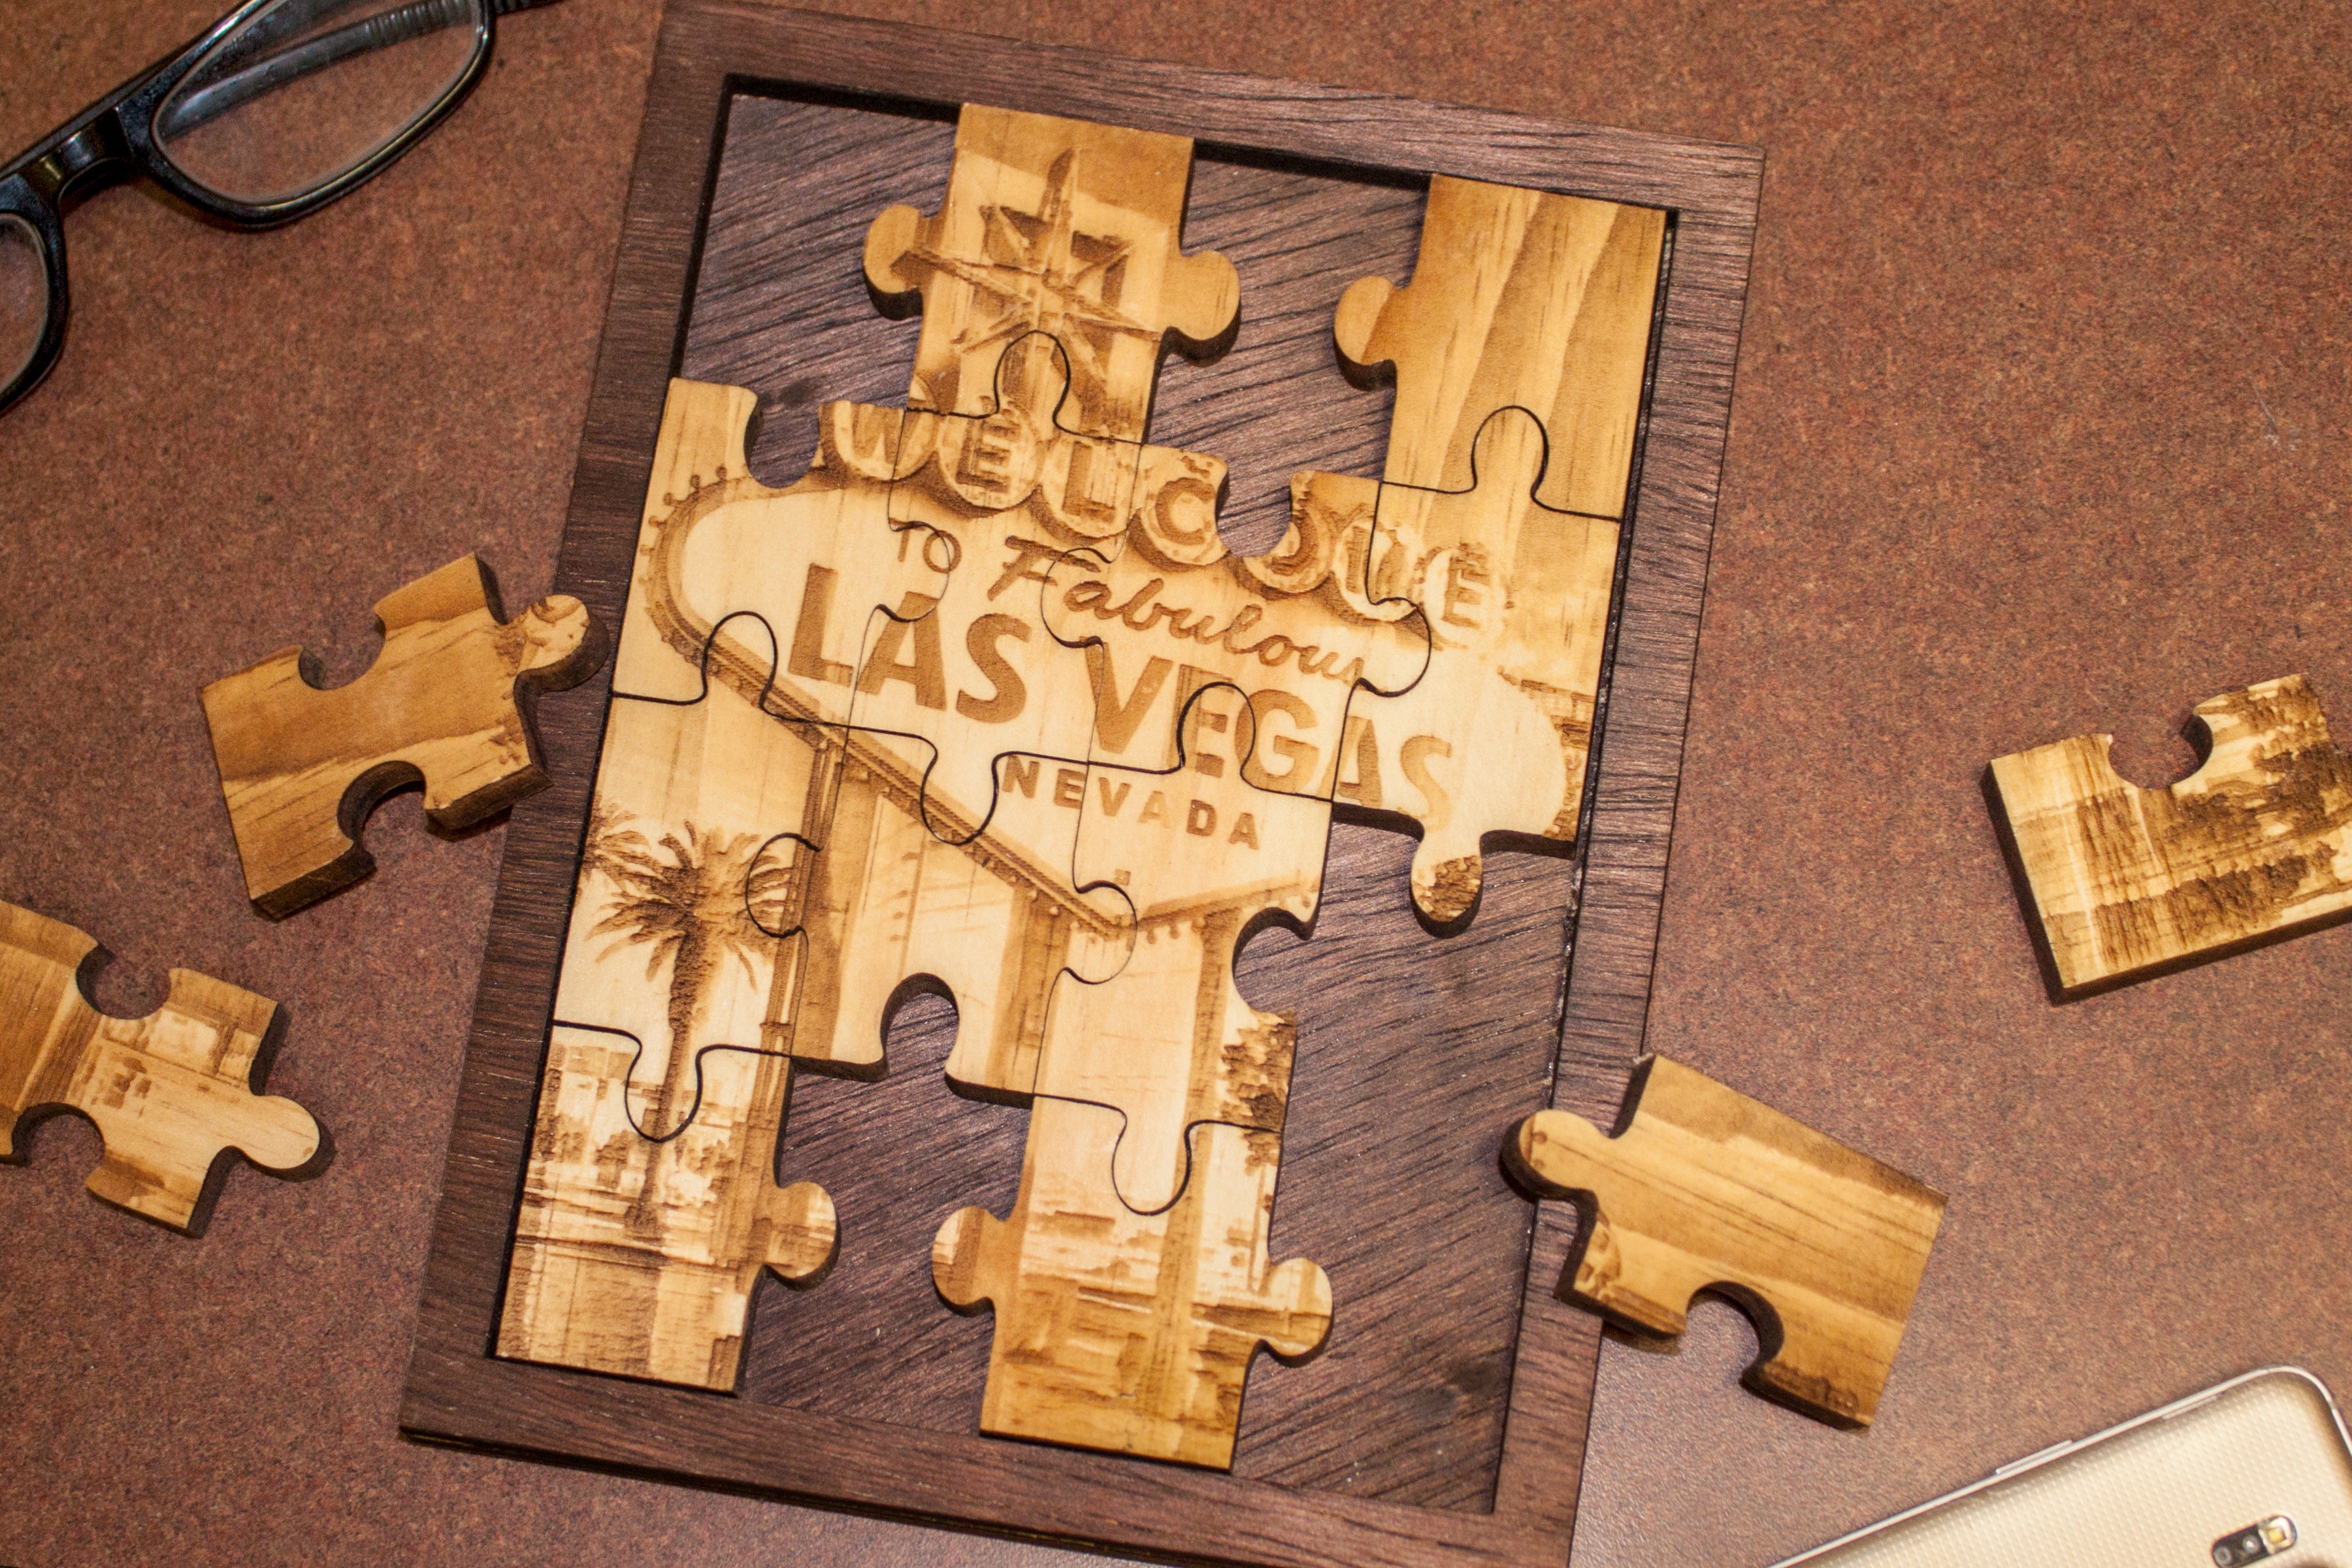
Combining Techniques to Create a Customized Jigsaw Puzzle
Raster Engraving and vector cutting are essential aspects of laser cutting. By combining these techniques, we are able to make a wide variety of projects. In this project we will learn how to: Select Objects through the layer menu, Understand layers to organize job type order, Use vector colors to dilinate path order, Set multiple settings for a single job, and Understand "Inside to Outside" cut order.

Safety First
Before powering on your laser, ensure that your workspace is free of fire, electrical and other safety hazards. Always be aware of all safety precautions when cutting materials with a laser.
Verify that your laser is connected to a computer by using the included ethernet cable.
For any additional setup or troubleshooting, reference your user manual for details
Launch Software
When the boot cycle completes, locate the unique IP address for your machine. For Muse, the wired IP will be listed in the bottom right corner of the touchscreen. To access the wireless IP, go to Settings>Network. For all other machines, use the IP address that appears in the main screen after the boot cycle.
Type this unique number into any web browser. We recommend Google Chrome for best results.

Step 1
Import
Download and import the two included files. Import the "Puzzle Frame" as vector only, and import the "Puzzle Image" as raster only.
Step 2
Arrange
Open the object manager by selecting the arrow in the center left side of the screen.

Notice that in this menu, both files are listed in different layers. The "V" icon indicates a vector file, while the photo icon represents a raster. By clicking and dragging these layers, we can rearrange the cut order of the project. Objects on the top will cut first while the objects underneath will follow. Rearange the layers so that the raster is on the top of the list.

Ideally we want to engrave our image first, then cut our pieces. By cutting in this order, we prevent pieces falling or shifting out of focus before being engraved.

Step 3
Settings
Before this point, we have adjusted settings by clicking on the image in the workspace. When dealing with multiple layers, clicking on the image will only select the top most layer, and can increase the chance of accidentally misaligning a section by dragging. To prevent this, select the layer from the Object Manager menu. When you open the right hand menu, you'll notice that the properties of that object are listed.

Select the raster layer, set the optimal engrave settings for your material, and dither the image like we learned in lesson 1. Next, select the vector layer. Notice that this vector layer is recognized in 3 colors. By designing our vectors with different colors, we can set unique settings for each color and control cut order.
In this project, all of our vectors will need to be cut. Select a setting that will cut through the material, and set all 3 colors to these settings. Just like in our Object Manager, we are able to click and drag each layer to rearange them. Our goal is to cut from the innermost part of the file then outwards. By cutting from inside to outside, we prevent any failure of pieces falling or shifting before they are cut. In this case, the order will be Red, Yellow, then Pink for cut order.

Step 4
Cut
Insert your material and focus to the top using your focus tool. Using relative positioning, position your red dot in the top left corner of your material. Jog to test your placement.
Close the lid and press play.
Notice that your laser begins runing the raster first. Once the raster completes, the laser will automatically reposition, and begin running the vector file.

When completed, you should have the two frame pieces, and the puzzle pieces.

Step 5
Assemble
Use a thin layer of glue to adhere the hollow rectangle onto the solid rectangle piece.

This will create the frame to assemble your puzzle in.
What We Learned
- How are vectors different than images?
- Vectors are paths while images are composed of pixels.
- What kind of data does a .PDF contain?
- Both raster and vector data.
- How do speed and power properties relate to speed and power in raster projects?
- Speed always controls how fast the laser head moves, while power always controls the power output of the laser.
- What does the vector current slider control?
- Vector current controls the pulsing of the laser.
- How does a vector job run as opposed to a raster job.
- A raster job runs like an "inkjet printer" marking what it sees. A vector follows the path of the design.
Materials:
1/8" Wood
Wood Glue
(Optional) Polyurethane Spray
(Optional) Wood Stain
Things to think about:
- Why might it be benificial to run one job type before the other?
- Why should you select multi-type files from the menu?
- What is a reason that you might design a file with multiple vector colors?
- How does "Inside to Outside" cutting help prevent failures or flaws in a job.
