

- Safety First: Ensure workspace is free of fire, electrical and other safety hazards. Be aware of all safety issues when cutting materials with a laser. Always have a fire extinguisher on hand
- Power on the laser and all of its components.
- Ensure that:
- The laser is powered and the boot up cycle begins on the screen.
- The cooling system is connected properly and water is flowing through the tube.
- The air compressor is powered and exhausting air to the laser head.
- The exhaust system is on and vented into a safe location. - Connect to RetinaEngrave 3.0 software using your machine’s touch screen to copy the software IP address into your favorite browser. The Wired IP address is displayed at the bottom of your touch screen.
- Import your design and adjust power and speed settings. Double check settings including the number of passes and cut order.
- Insert material into the laser bed. Use the focus tool to adjust to the top of the material. Focusing should be done each time a new material is introduced.
- Use the “Perimeter” function to ensure that the file will fit within the cutting area. Adjust accordingly.
- Run the job file. Do not leave a job running unattended.
Face Shield Assembly Instructions
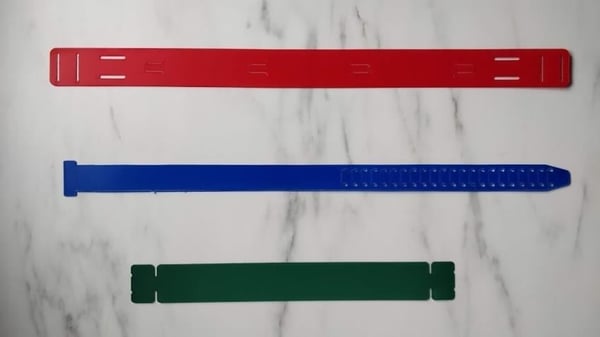
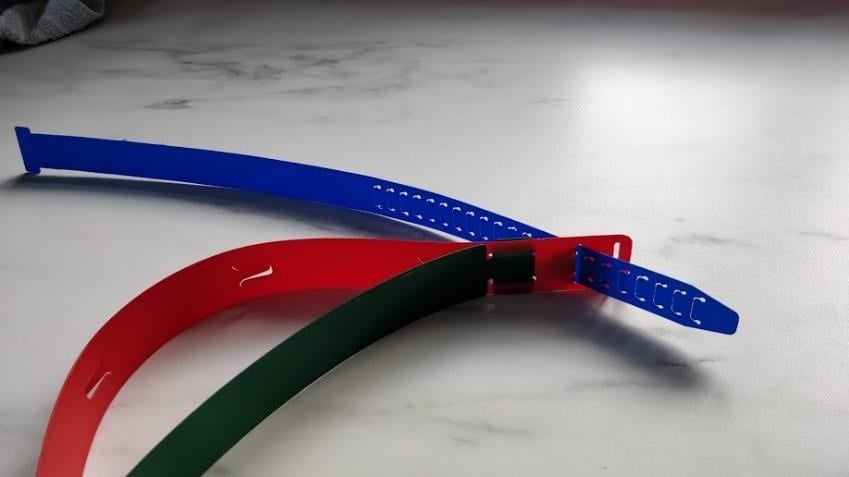
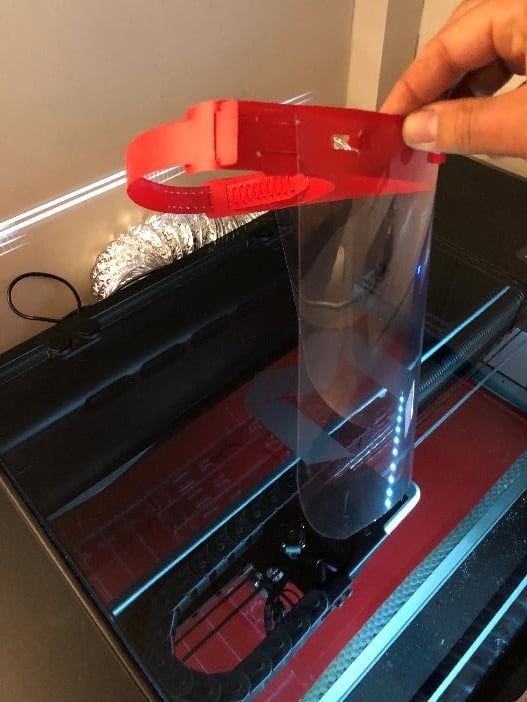
- Each mask comes in four parts. The binding cover (acetate) face shield (not pictured), the face shield support (red), the head strap (blue) and the forehead strap (green).
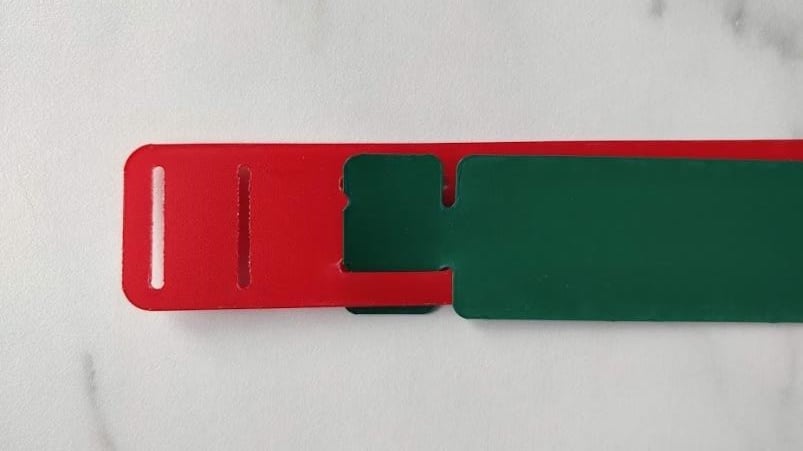
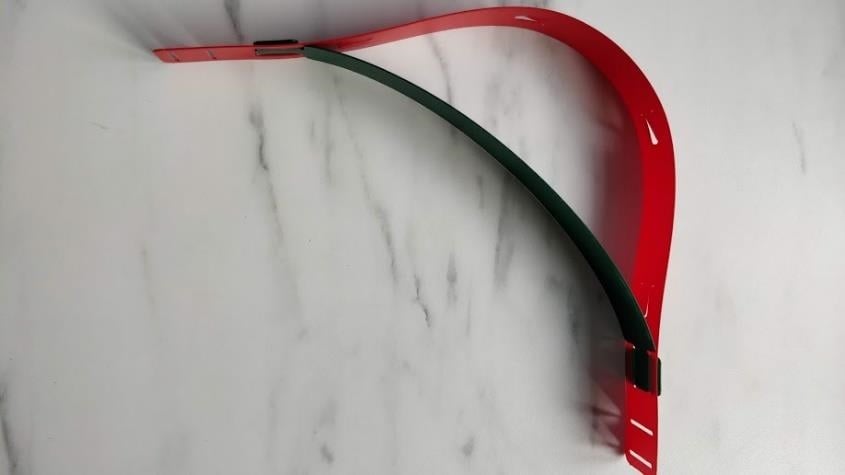
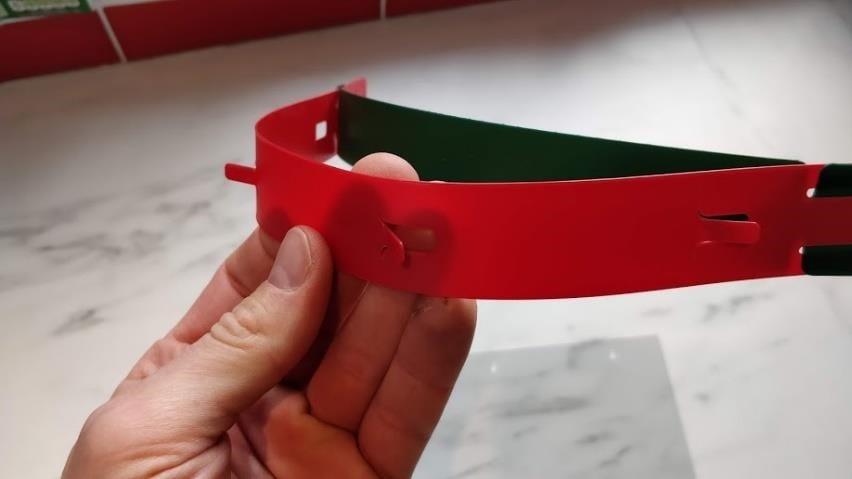
- Tuck one tab of the green forehead strap into the horizontal holes in the red support strap.
- Tuck the 2nd ear into the 2nd horizontal hole in the red support strap.

- Repeat on opposite side.
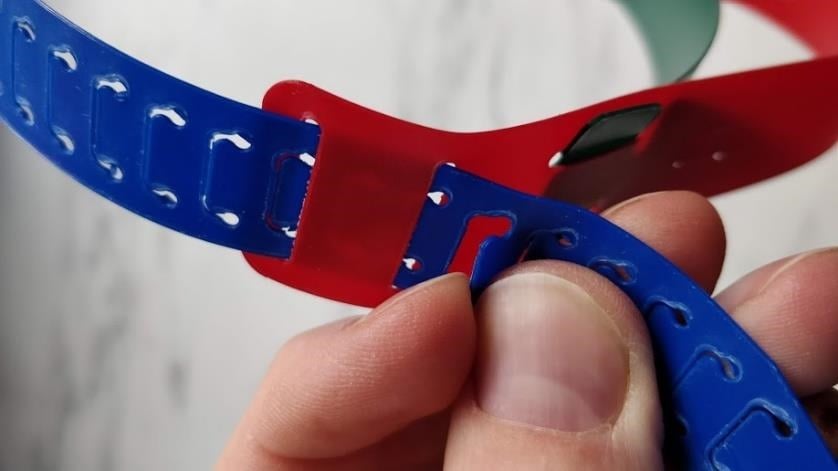
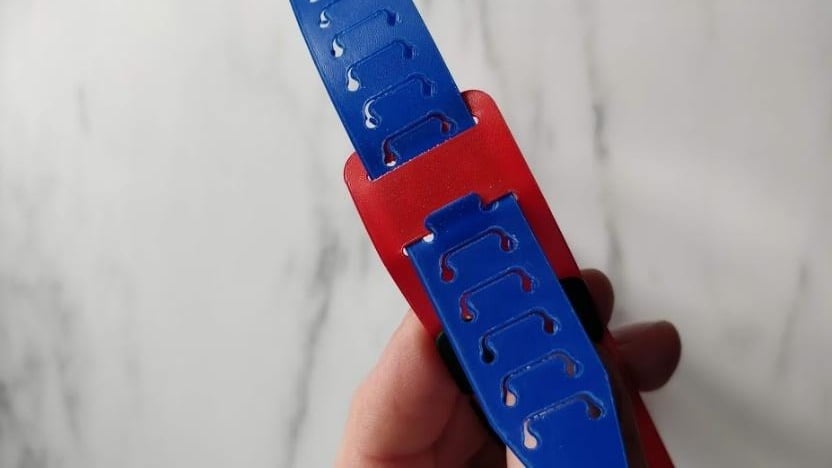
- Feed the blue headband strap through the first of the vertical holes from the front of the strap.
- Feed the blue headband strap through the 2nd vertical hole.
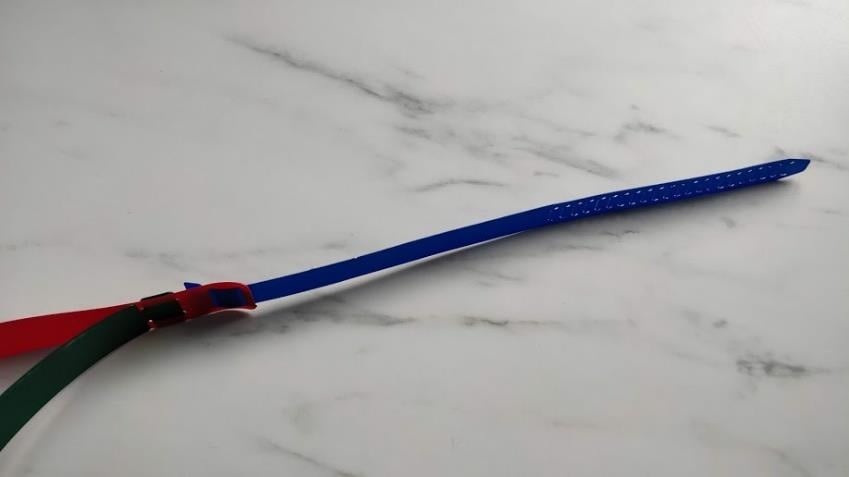
- Feed the blue headband strap through the 2nd vertical hole on the opposite side.
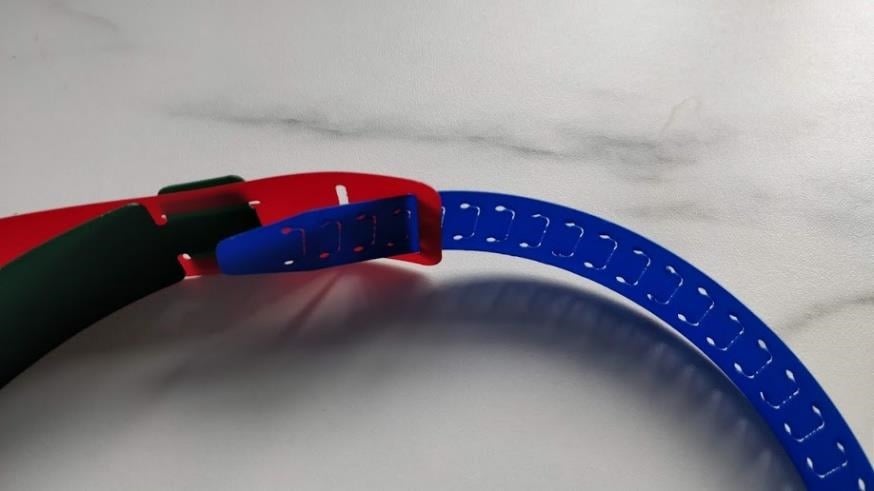
- Feed the blue headband strap through the 1st vertical hole on the opposite side. Do not pull tight. Place on head and pull through until comfortable.
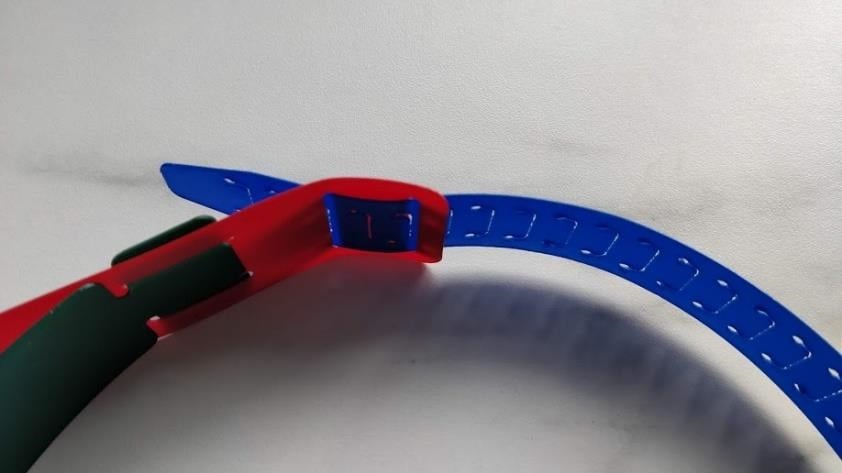
- Pushing it back slightly, lift the relevant tab up slightly with your nail and pull tight.
- Once pulled tight, the tab will lock and thus not go larger. If this is not right you can alter again to an alternate tab as needed.
- Lift the tabs on the red support strip.
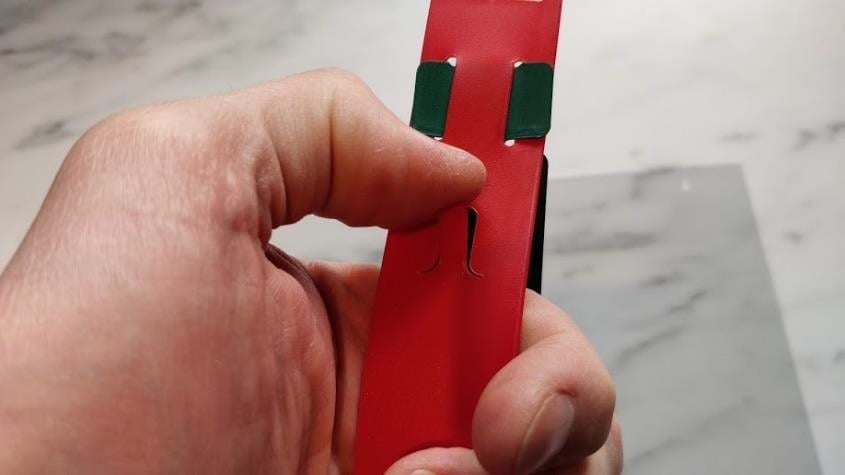
- Repeat for all four tabs
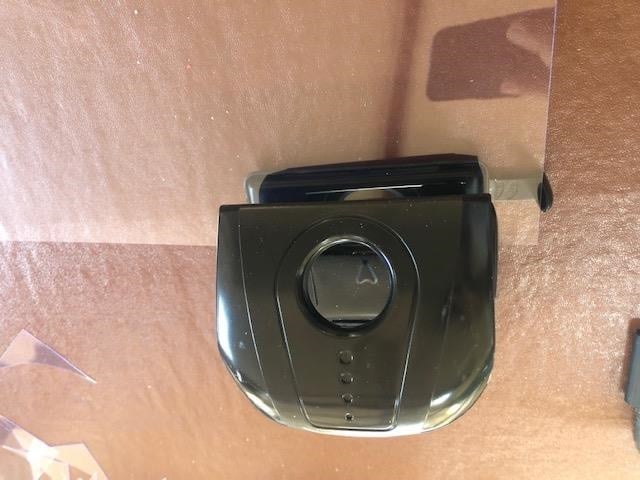
- The binding cover (acetate) face shield needs to be hole punched. First set your hole punch to A6 on the slider.
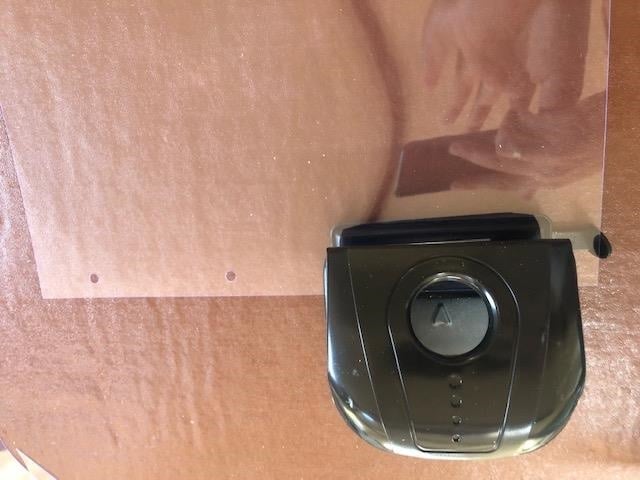
- Insert the binding cover one side and punch
- Flip it around and punch the 2 holes on the same side but the opposite end so you have 4 holes all along one long side.
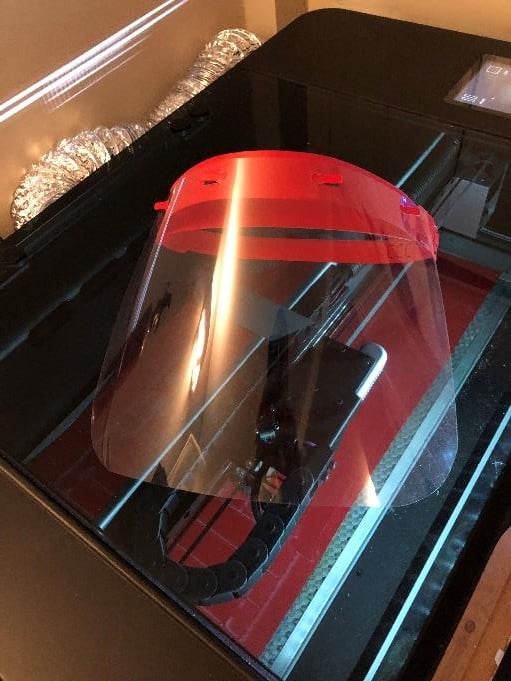
- Hang binding cover (face shield) onto tabs. You now have a completed face shield! Optionally you can trim the binding cover to have rounded corners at the bottom, this looks nicer and helps to avoid pointed edges!
Please check out our Youtube channel for this project video and so much more!