

Import
Download the included files, and import as vector only.
Settings
Select a speed and power setting suitable to cut through your material.. Cut along red paths, followed by yellow paths.
Run Job
Run both files as separate jobs and remove the components listed below.

Assemble
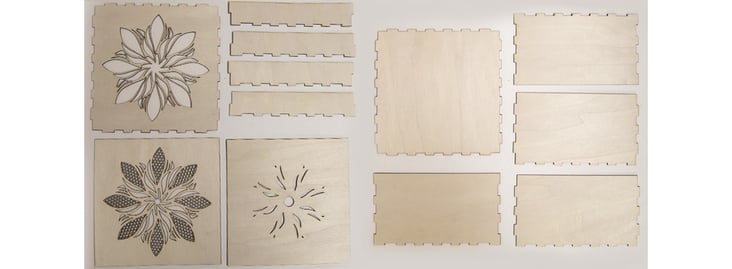
Begin by assembling the 5 pieces above to form the lid. Set this aside to dry.

If you choose to paint or stain your pieces, it is preferable to do so before assembly.

Assemble the 5 larger pieces below to form the base of the box.

Set this aside to dry.

When the lid is secure, begin by positioning the remaining layers by matching them to the underside of the lid.

These will be glued on the inside of the lid to create a 3D effect.

Add glue to each layer, and stack them until the effect is complete.

Allow this to dry completely before use.


