 |
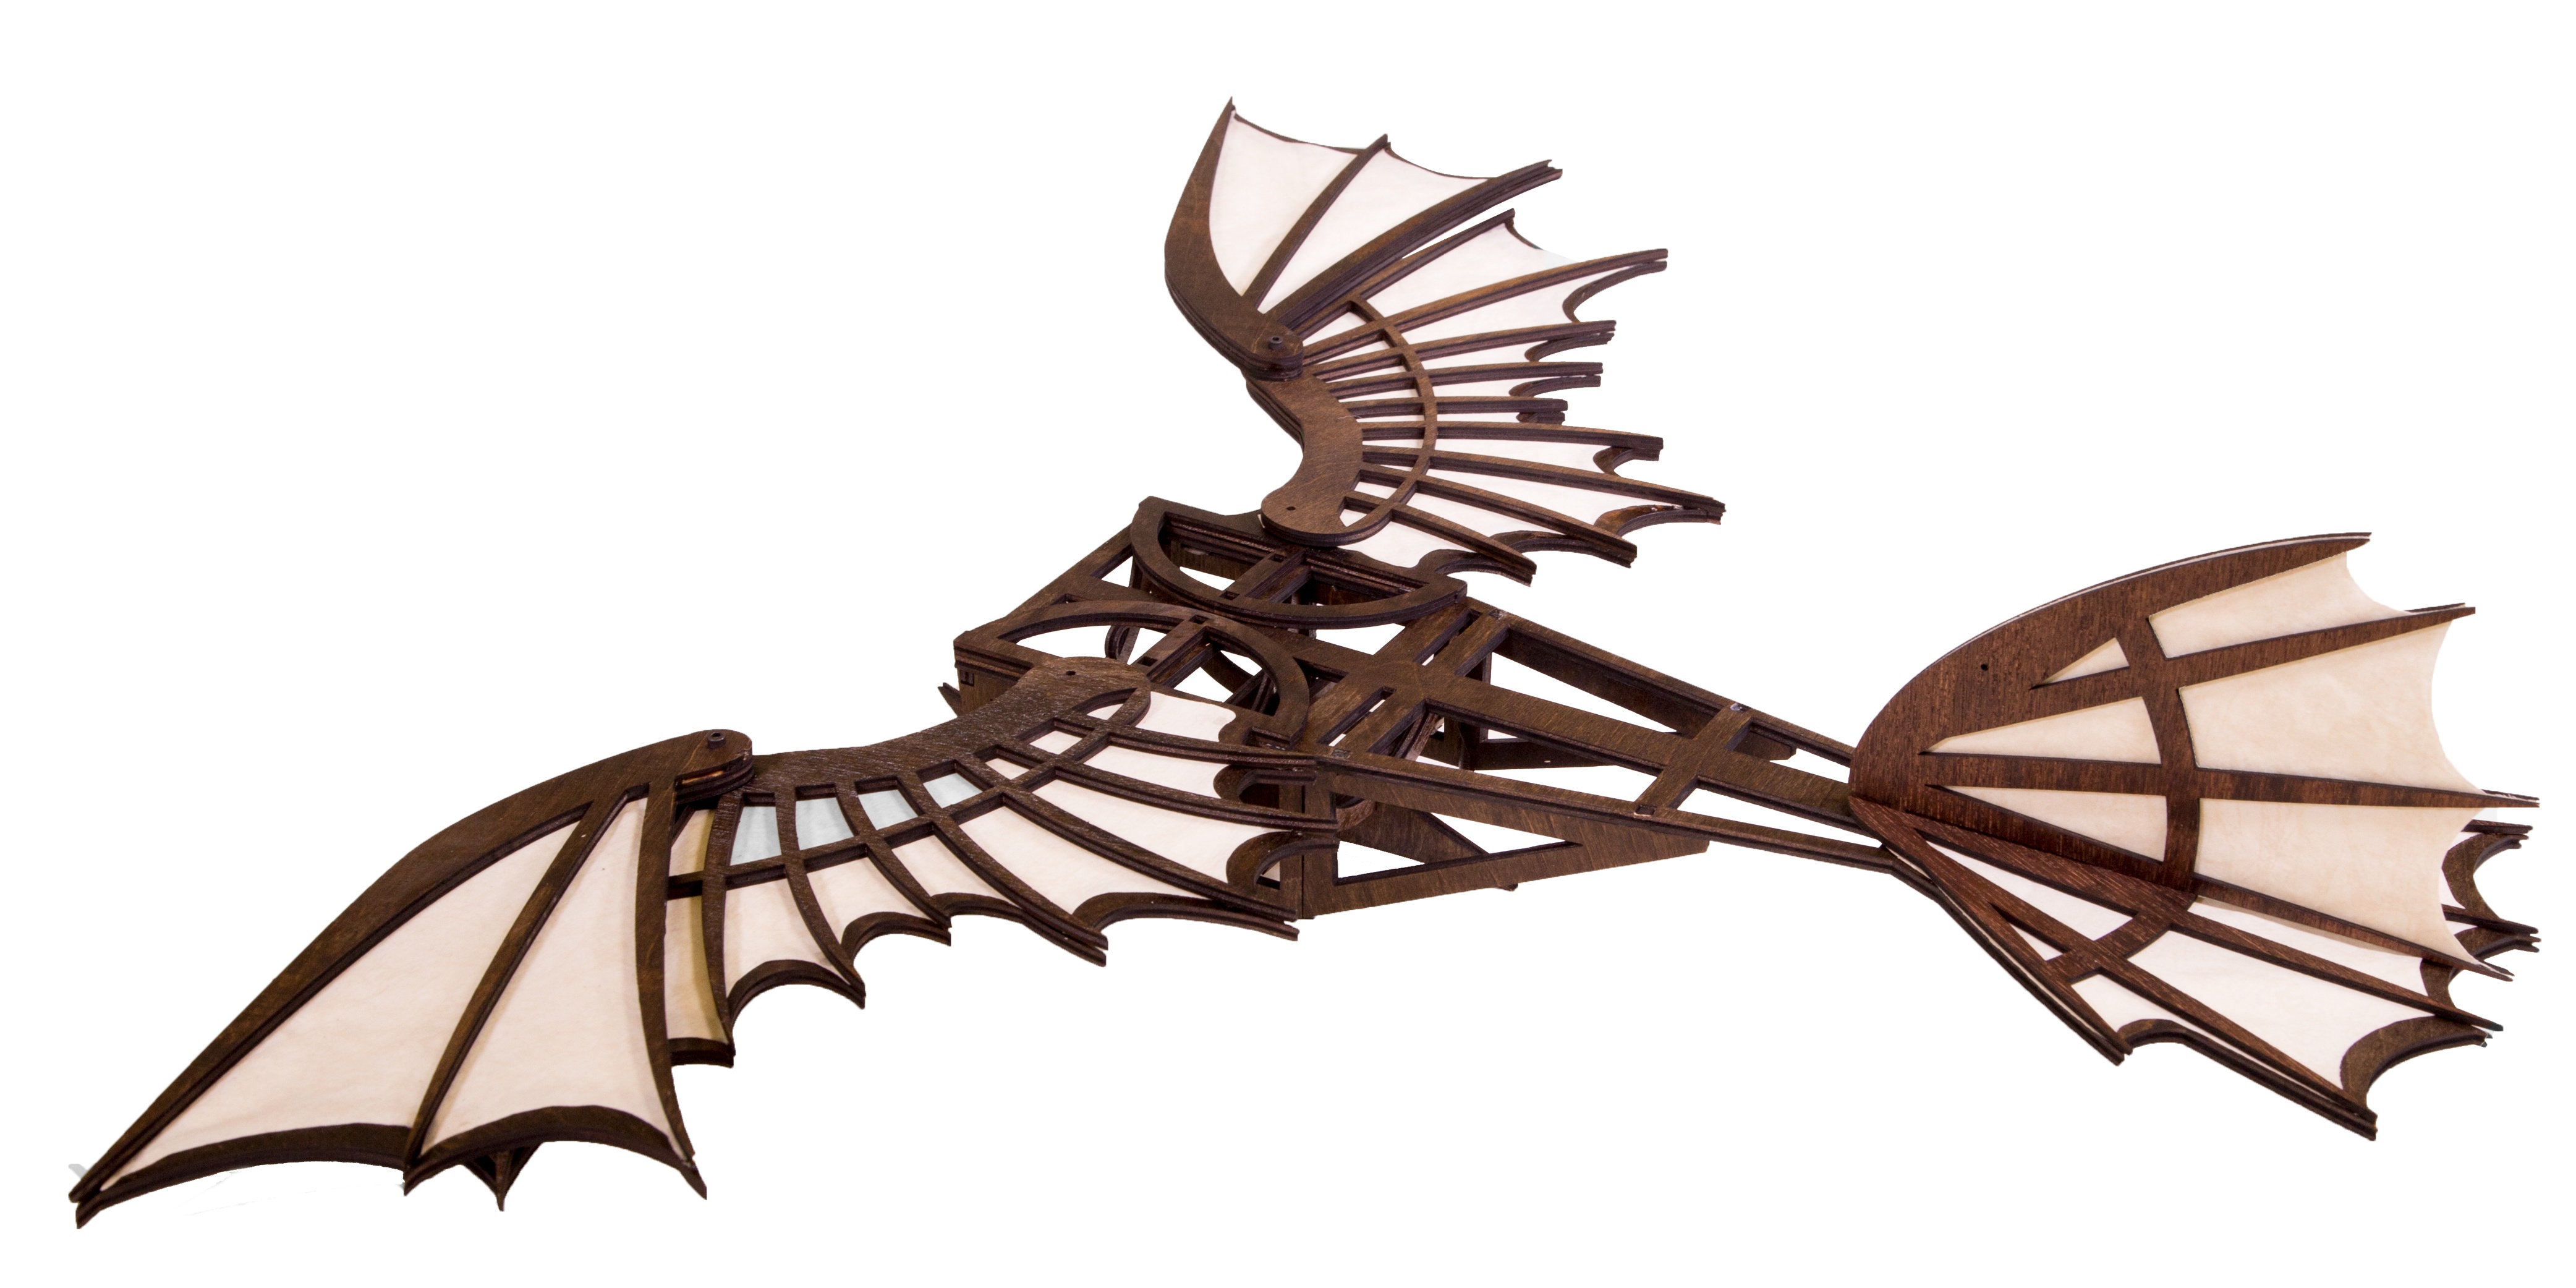
With just one concept, laser cutters can create multiple outcomes with just minor design variations in design software. We start with a basic pattern created in Adobe Illustrator as a vector file and saved as a PDF.
 |
Basic Vector Cut
Here is a simple vector cut of our pattern in the software, the red lines tell the laser what to cut. All red lines will be cut through the material creating the empty space in the final project.
 |
Vector Marking
We can outline (as opposed to fill) parts of the pattern for a second design option. Again, we will instruct the laser using our vector properties in this design, the blue lines will not be cut through on our material, but instead will be marked.
 |
Vector Cut with Raster Fill
We can also combine vector cutting with engraving in this case the laser will raster in the black fill and cut the red line.
Vector Cutting Tips
Now that you understand the basics, let’s examine some ways to avoid common mistakes.
 |
Setting Stroke Thickness
The laser spot is about 0.005″ in diameter. To avoid the laser making a double pass or cutting two lines, we want to set the thickness of our vector line to the smallest “stroke” (in Illustrator, this is called “hairline”).
 |
Order of Operations
If you are combining vector and raster techniques in the same job, consider the order of operations carefully. If you vector cut the shape before you fill in the design, your piece may slip from the material, offsetting everything that comes after. Set your raster engravings to be first and your vector cuts last.
To learn more, download our free ebook, Designing for Laser Cutting: A Technical Ebook for Creatives, where you will discover more design tips such as:
- Choosing Image Files
- Raster Engraving Techniques
- Utilizing Kerf in Design
- 3D Object Stacking Designs
- And dozens of other tips & techniques
Look for more ebooks, coming soon, from Full Spectrum Laser

