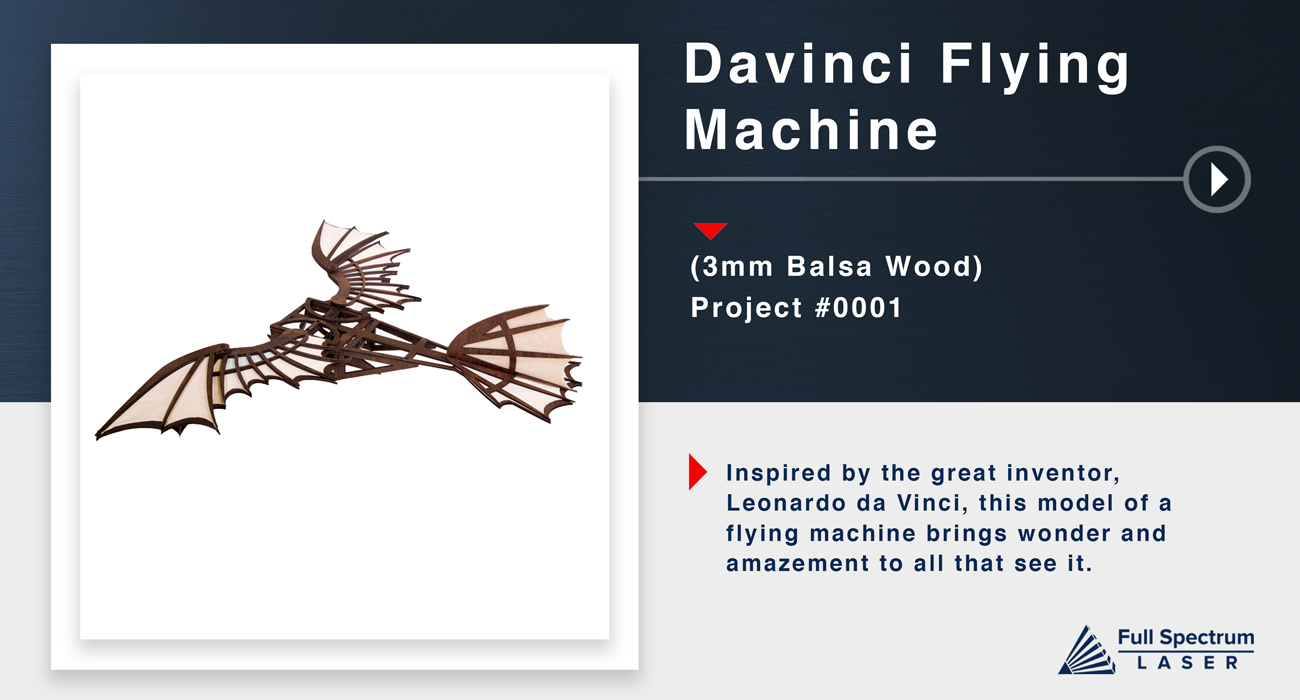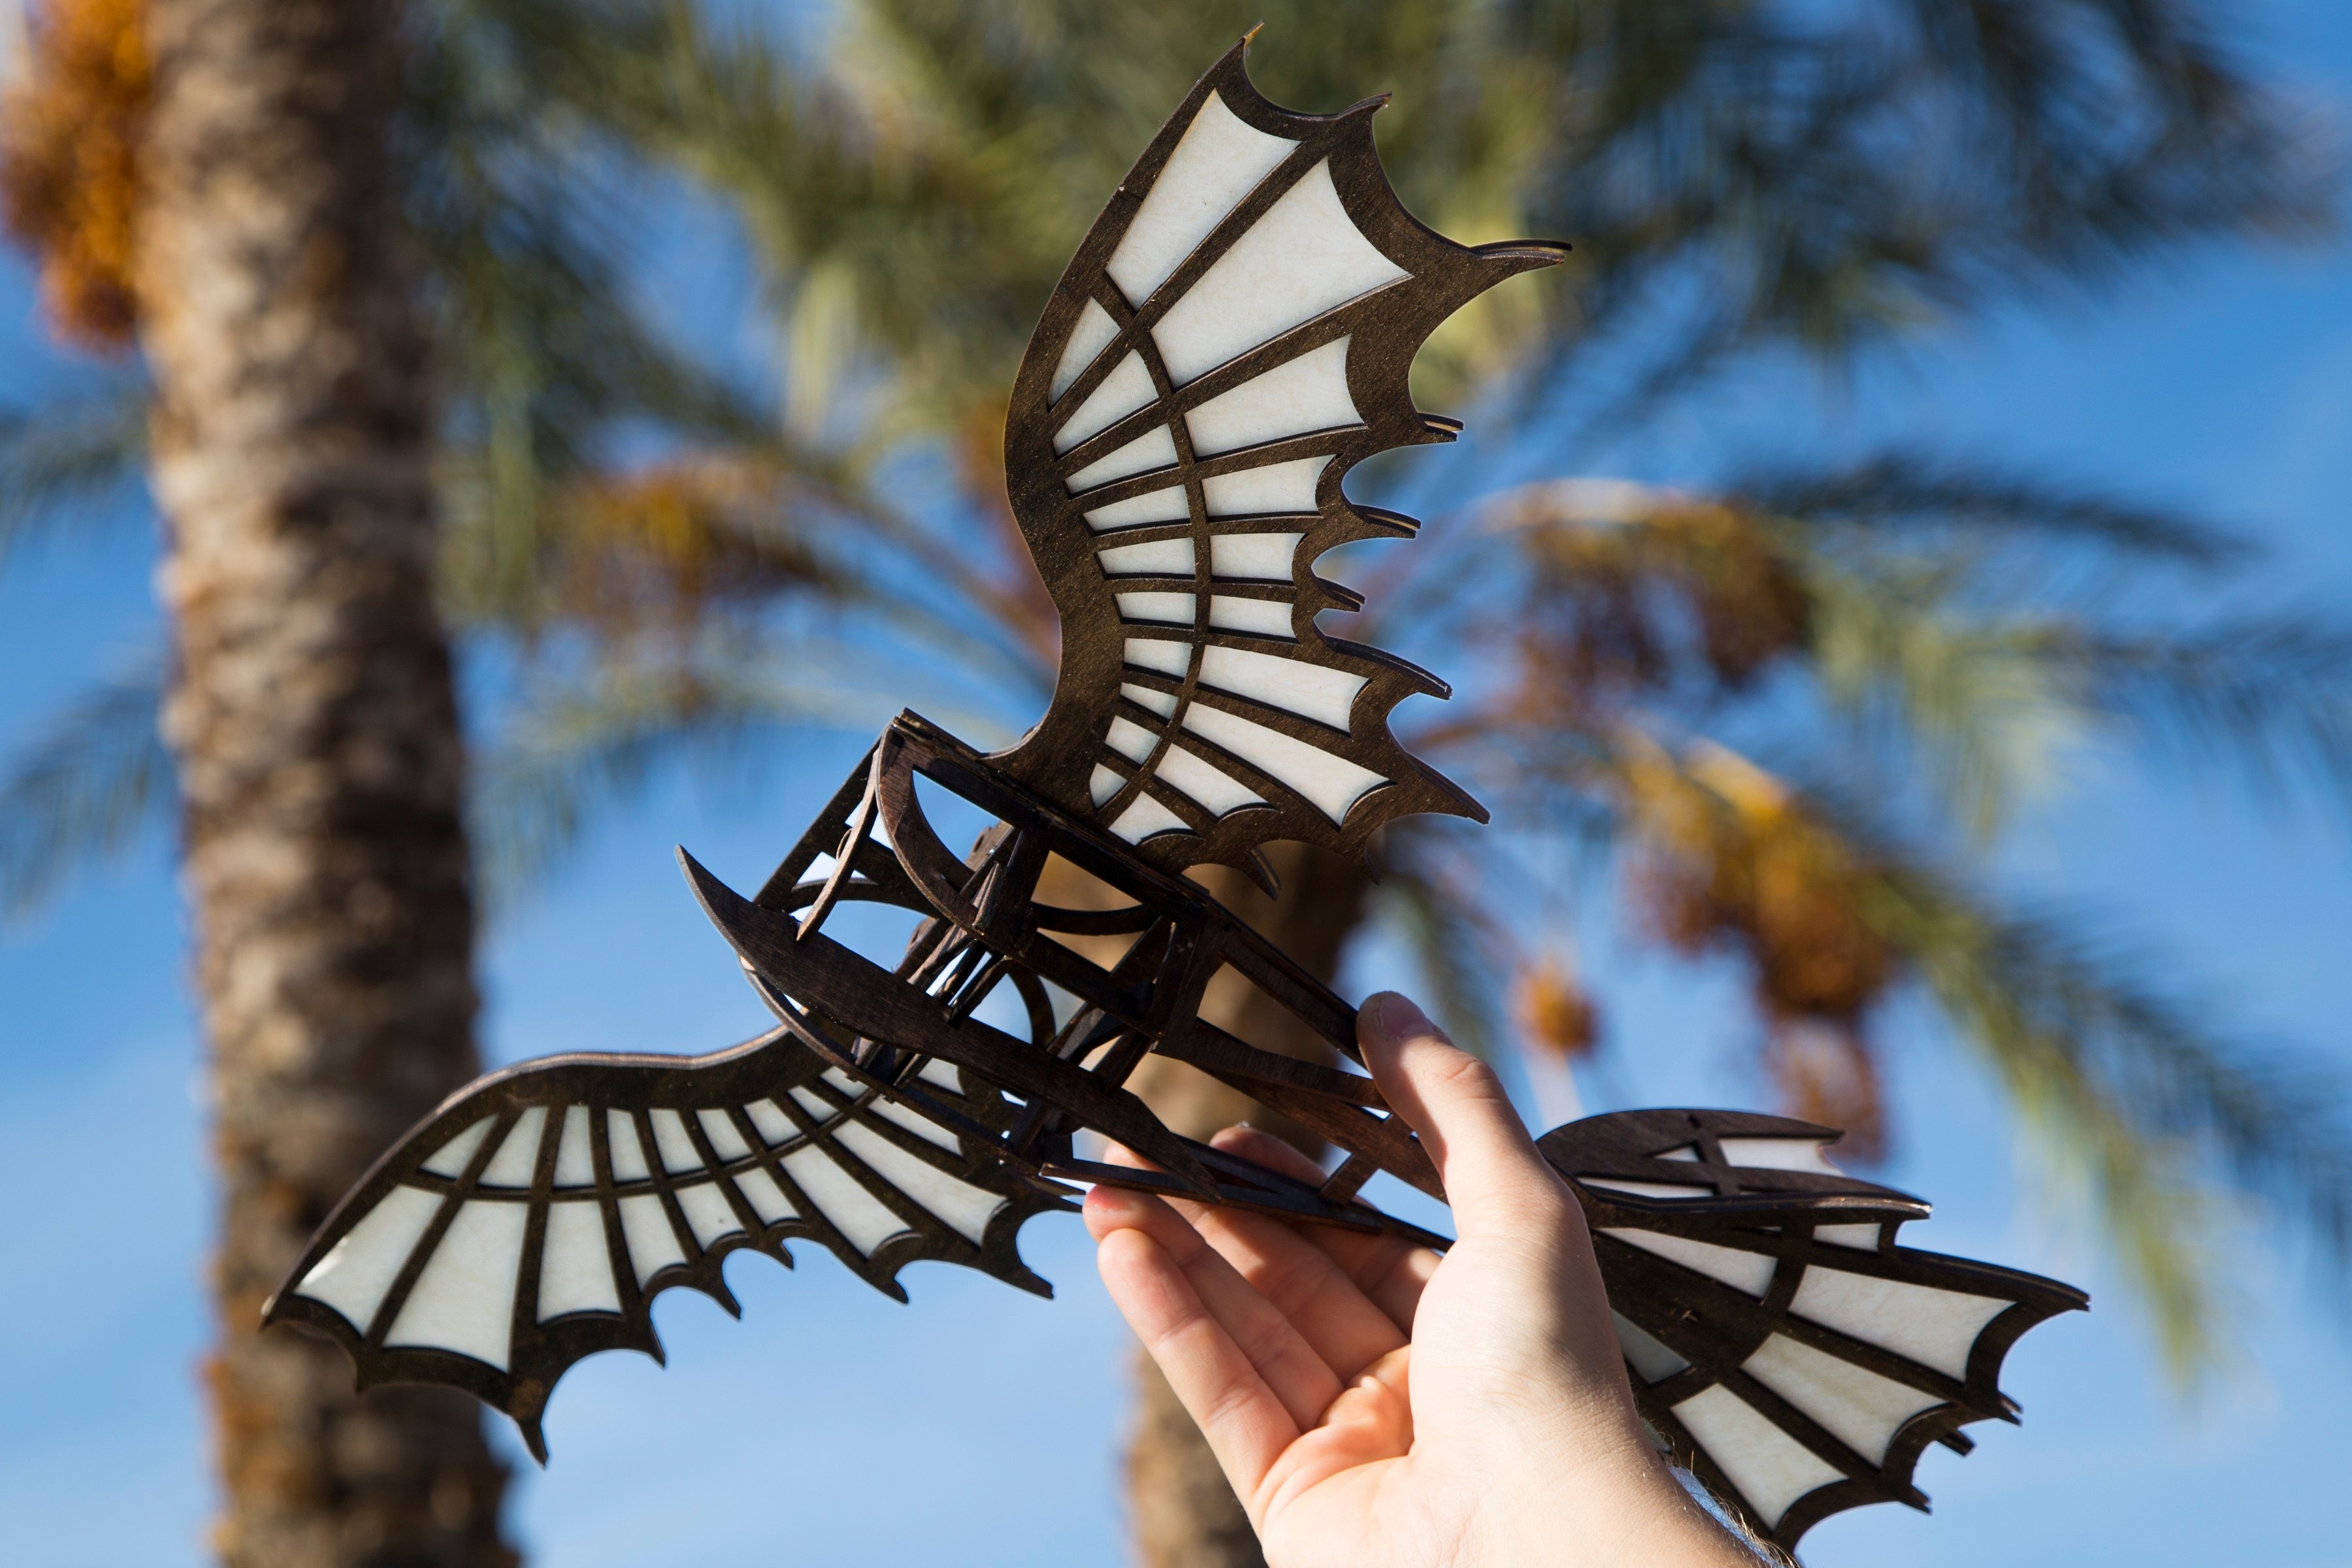
Da Vinci Inspired Flying Machine
Inspired by the great inventor, Leonardo da Vinci, this model of a flying machine brings wonder and amazement to all that see it.
Complete step-by-step instructions gives you the knowledge to take your skills to the next level.

- Safety First: Ensure workspace is free of fire, electrical and other safety hazards. Be aware of all safety issues when cutting materials with a laser. Always have a fire extinguisher on hand
- Power on the laser and all of its components.
- Ensure that:
- The laser is powered and the boot up cycle begins on the screen.
- The cooling system is connected properly and water is flowing through the tube.
- The air compressor is powered and exhausting air to the laser head.
- The exhaust system is on and vented into a safe location. - Connect to RetinaEngrave 2.0 software using your machine’s touch screen to copy the software IP address into your favorite browser. The Wired IP address is displayed at the bottom of your touch screen.
- Import your design and adjust power and speed settings. Double check settings including the number of passes and cut order.
- Insert material into the laser bed. Use the focus tool to adjust to the top of the material. Focusing should be done each time a new material is introduced.
- Use the “Perimeter” function to ensure that the file will fit within the cutting area. Adjust accordingly.
- Run the job file. Do not leave a job running unattended.

Undercarriage Assembly
Lay main body face down. Insert triangle pieces into the notches at the midsection of the body. The point of these triangles should be pointed torwards the tail. As shown in next slide..

They should fit losely as they will be tilted inwards later. If you choose to add glue, test assemble the piece first, then come back as you will have to work quickly.

Insert one of the side panels into the notches above the triangles. The flat side should line up with the flat edge of the triangle. Slide the two central rib pieces into the notches of the side panel as Seen in next slide..


Insert the handled rib piece into the front of the body. This should be place at the rounded end of the side panel. Place the second side panel over these shapes. As shown in next slide..


Secure these pieces by adding the cross beams under the side panel notches. Place the hourglass shaped beam at the front of the model. Follow this by adding the straight beam, then the V shaped beam. As shown in next slide..


Add the vertical cross bar along all of these sections to secure this assembly. Add glue to secure these notches.

Wings and Tail Assembly
Flip the whole project over and align the main wing pieces with the notches. As shown in next slide..


Secure the wings by inserting the wing pin.

Add glue to the wing frame to attach the wing fabric. Glue the wing spines on top of each wing. As shown in next slide..


Glue the fabric and spine sections to the tail section of the body. As shown in next slide..


Glue the tail fin fabric to one of the tail fin spine sectons. Add the second panel on the other side. As shown in next slide..


Lastly, insert this fin into the notches on the body.

Well Done!


