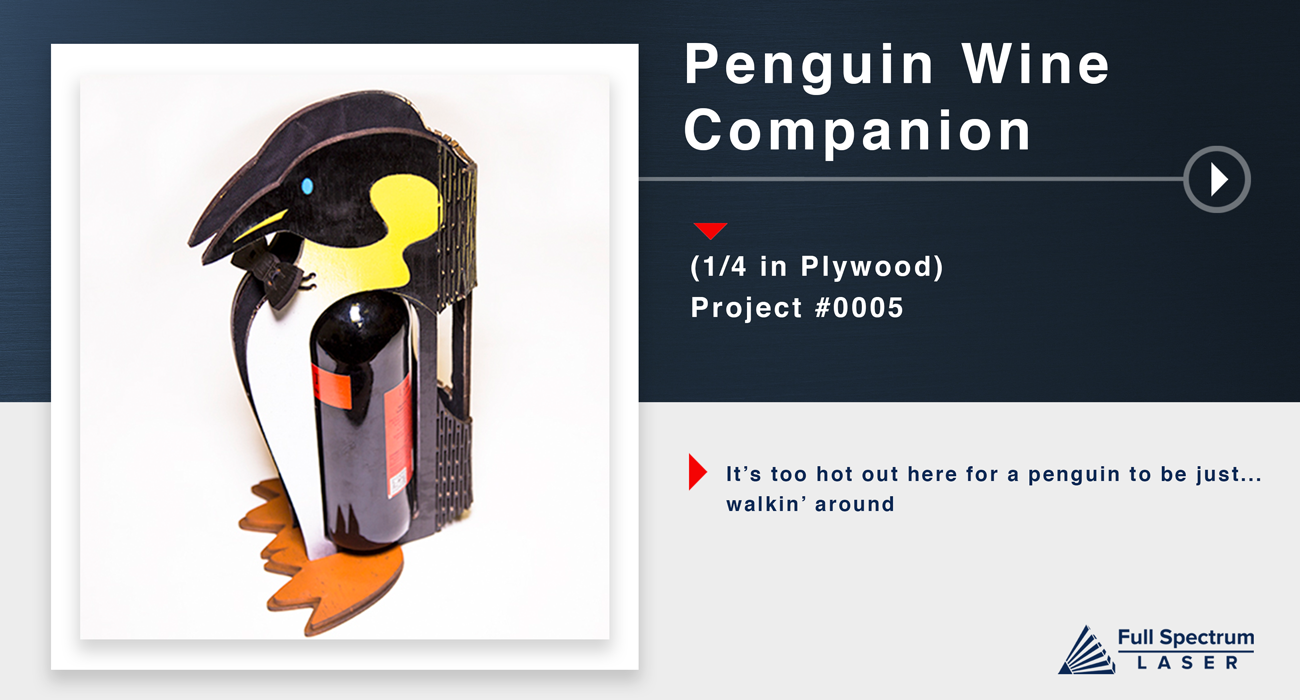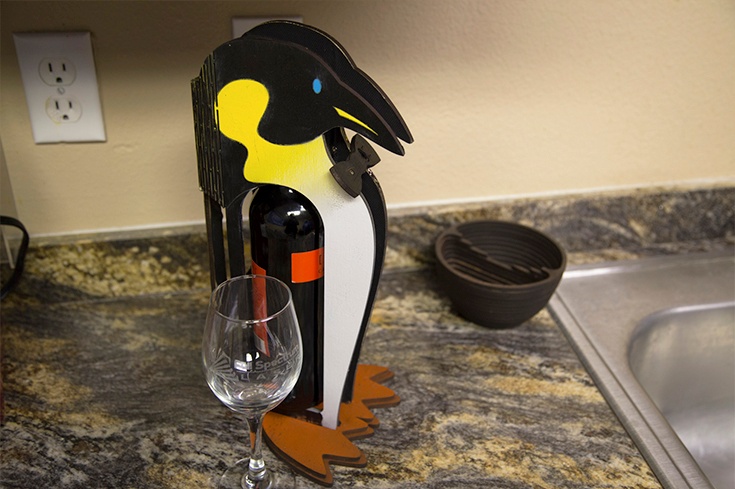
Penguin Bottle Carrier
The next time you waddle over to a friends house with spirits be sure to dress it up with the penguin bottle carrier.

- Safety First: Ensure workspace is free of fire, electrical and other safety hazards. Be aware of all safety issues when cutting materials with a laser. Always have a fire extinguisher on hand
- Power on the laser and all of its components.
- Ensure that:
- The laser is powered and the boot up cycle begins on the screen.
- The cooling system is connected properly and water is flowing through the tube.
- The air compressor is powered and exhausting air to the laser head.
- The exhaust system is on and vented into a safe location. - Connect to RetinaEngrave 2.0 software using your machine’s touch screen to copy the software IP address into your favorite browser. The Wired IP address is displayed at the bottom of your touch screen.
- Import your design and adjust power and speed settings. Double check settings including the number of passes and cut order.
- Insert material into the laser bed. Use the focus tool to adjust to the top of the material. Focusing should be done each time a new material is introduced.
- Use the “Perimeter” function to ensure that the file will fit within the cutting area. Adjust accordingly.
- Run the job file. Do not leave a job running unattended.
CUT
Import the included files and cut all the pieces from their respective materials.
Assemble
First you will want to paint the material you will be cutting with the main color (we used black, since it is a penguin).

Then you will want to apply masking tape across the main painted color. Once the tape is applied it is ready to cut.

At this point you have your piece cut out. You can flip it over and paint the back side black.

After the backside has been painted you can begin to peel away the masking tape where you will be adding the alternate colors to the front section.

We decided to go with blue eyes, and a white belly that trasitioned into yellow.

Once dry, you will want to peel the rest of the masking tape to reveal your paint job.

If you choose to paint the feet glue one on top the the other after the paint has dried.

Then you will cut your hair tie and string it through your bow tie.

Then string the hair tie through the two holes on the penguin and tie it on the other end. Also seen on next Slide..


Finally you will bring the main body of the penguin together with your choice of bottle and slide the feet into the bottom notches. Then complete the look and hold by stretching and notching the bowtie.

Well Done!


