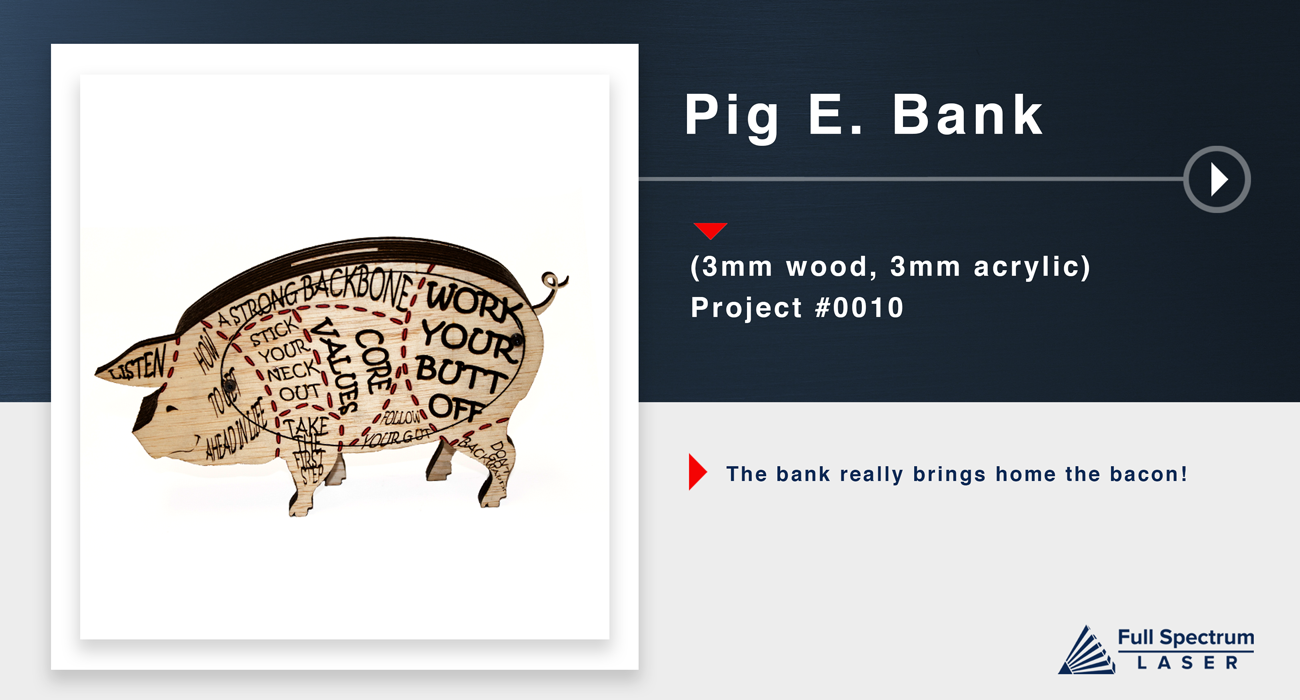
Piggy Bank
Saving just makes cents.

- Safety First: Ensure workspace is free of fire, electrical and other safety hazards. Be aware of all safety issues when cutting materials with a laser. Always have a fire extinguisher on hand
- Power on the laser and all of its components.
- Ensure that:
- The laser is powered and the boot up cycle begins on the screen.
- The cooling system is connected properly and water is flowing through the tube.
- The air compressor is powered and exhausting air to the laser head.
- The exhaust system is on and vented into a safe location. - Connect to RetinaEngrave 2.0 software using your machine’s touch screen to copy the software IP address into your favorite browser. The Wired IP address is displayed at the bottom of your touch screen.
- Import your design and adjust power and speed settings. Double check settings including the number of passes and cut order.
- Insert material into the laser bed. Use the focus tool to adjust to the top of the material. Focusing should be done each time a new material is introduced.
- Use the “Perimeter” function to ensure that the file will fit within the cutting area. Adjust accordingly.
- Run the job file. Do not leave a job running unattended.
CUT
Import the included files and cut all the pieces from their respective materials. This file contains vector cuts, vector markings, and raster data.
Assemble
First you will want to start fom the center stack. The center stack is the cut with the curly piggy tail.

Now you can take the simlar cut piece (without tail) and stack two of them directly on top glueing one on top of the other.

*Remeber that using wood glue and clamps with ensure a tight strong bond.

Then you can glue the one side of the piggies silhouette with mounting holes on top of the two plain stacks.

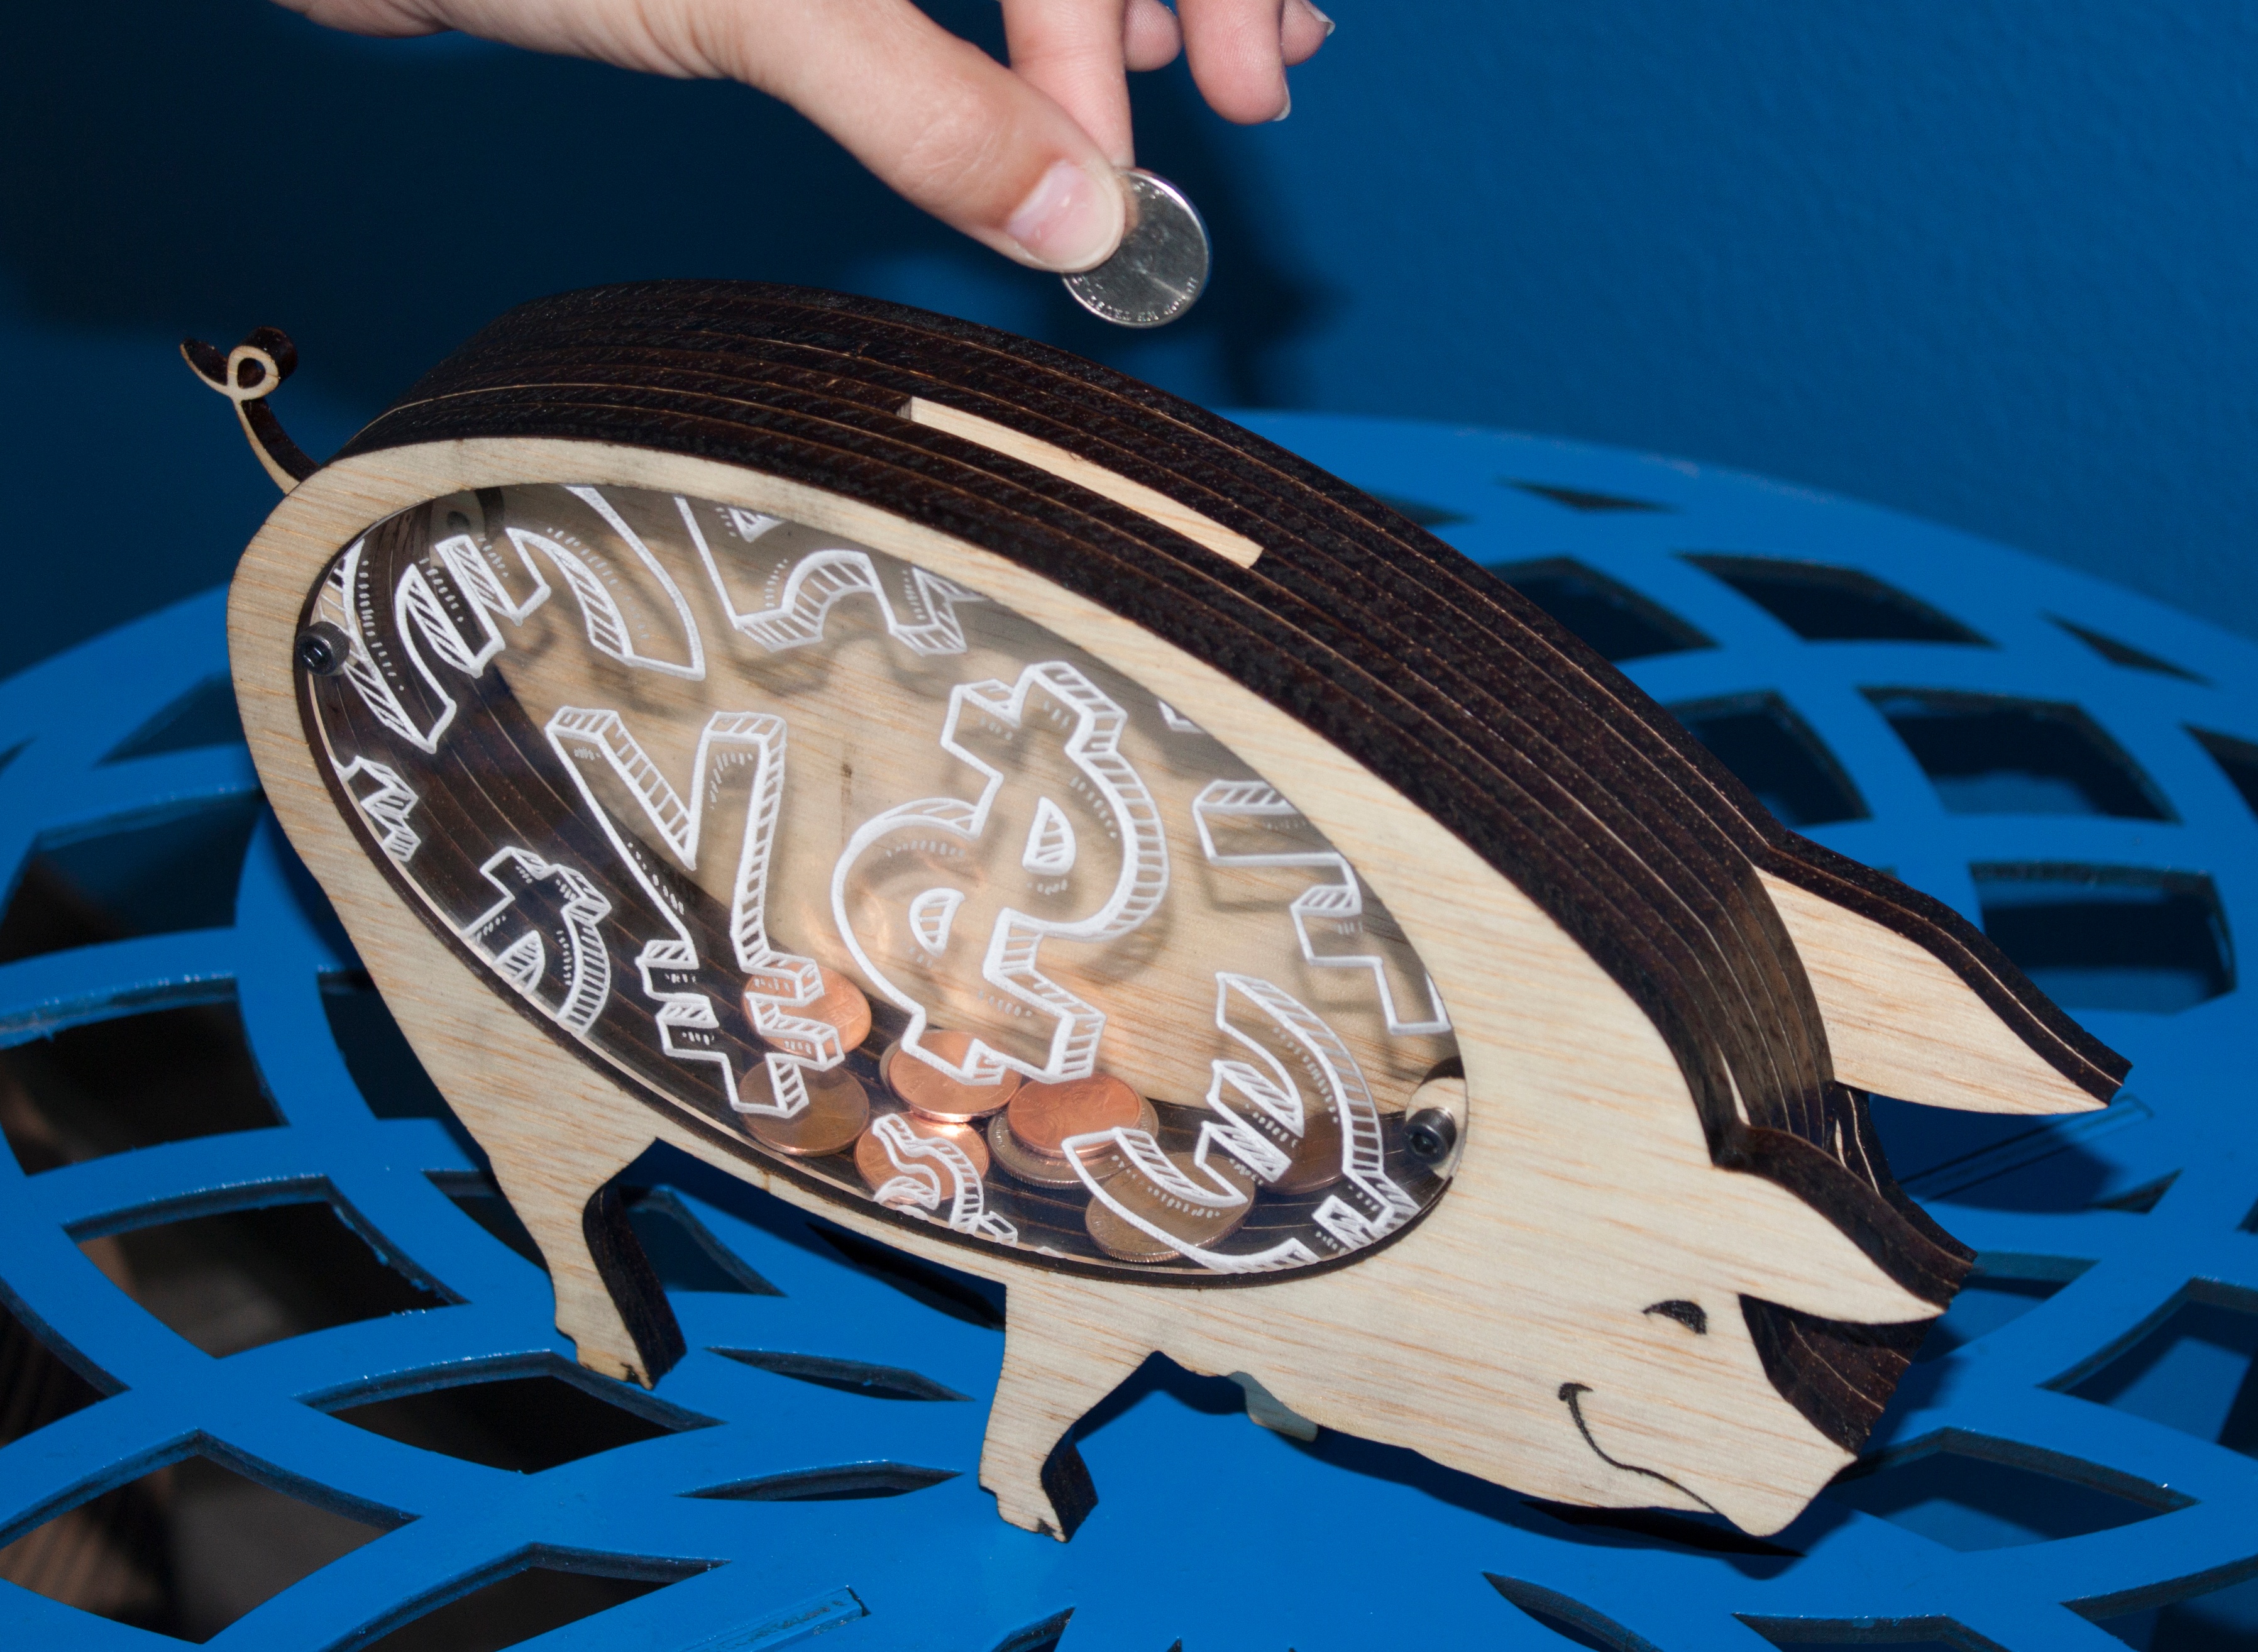
After the first side silhouette is glued and set you can glue the top detailed silhouette on top of the one with the bracket and holes. The center cut out on this side was done in acrylic to be able to see all the money you have saved in your piggy bank.

At this point you can flip the stacked and glued parts over and repeat the steps for this side.

This particular project has two differnt sides. If you don't like one side feel free to make both sides the same with a simple adjustment of the file.

At this point both sides are glued and stacked, so now we will use the hardware to close the piggy bank on both sides. (the file is designed to used 5mm screws) Also seen in Next Slide..


Finally, fill your piggy up with all the coins!


Difficulty: ★☆☆
Minimum Requirements: 40W
Raw Materials: 1/4" Material, Hardware, Glue
Optional: Paint / Stain, Clamps
Estimated Laser Time: 50 Min (90W)
