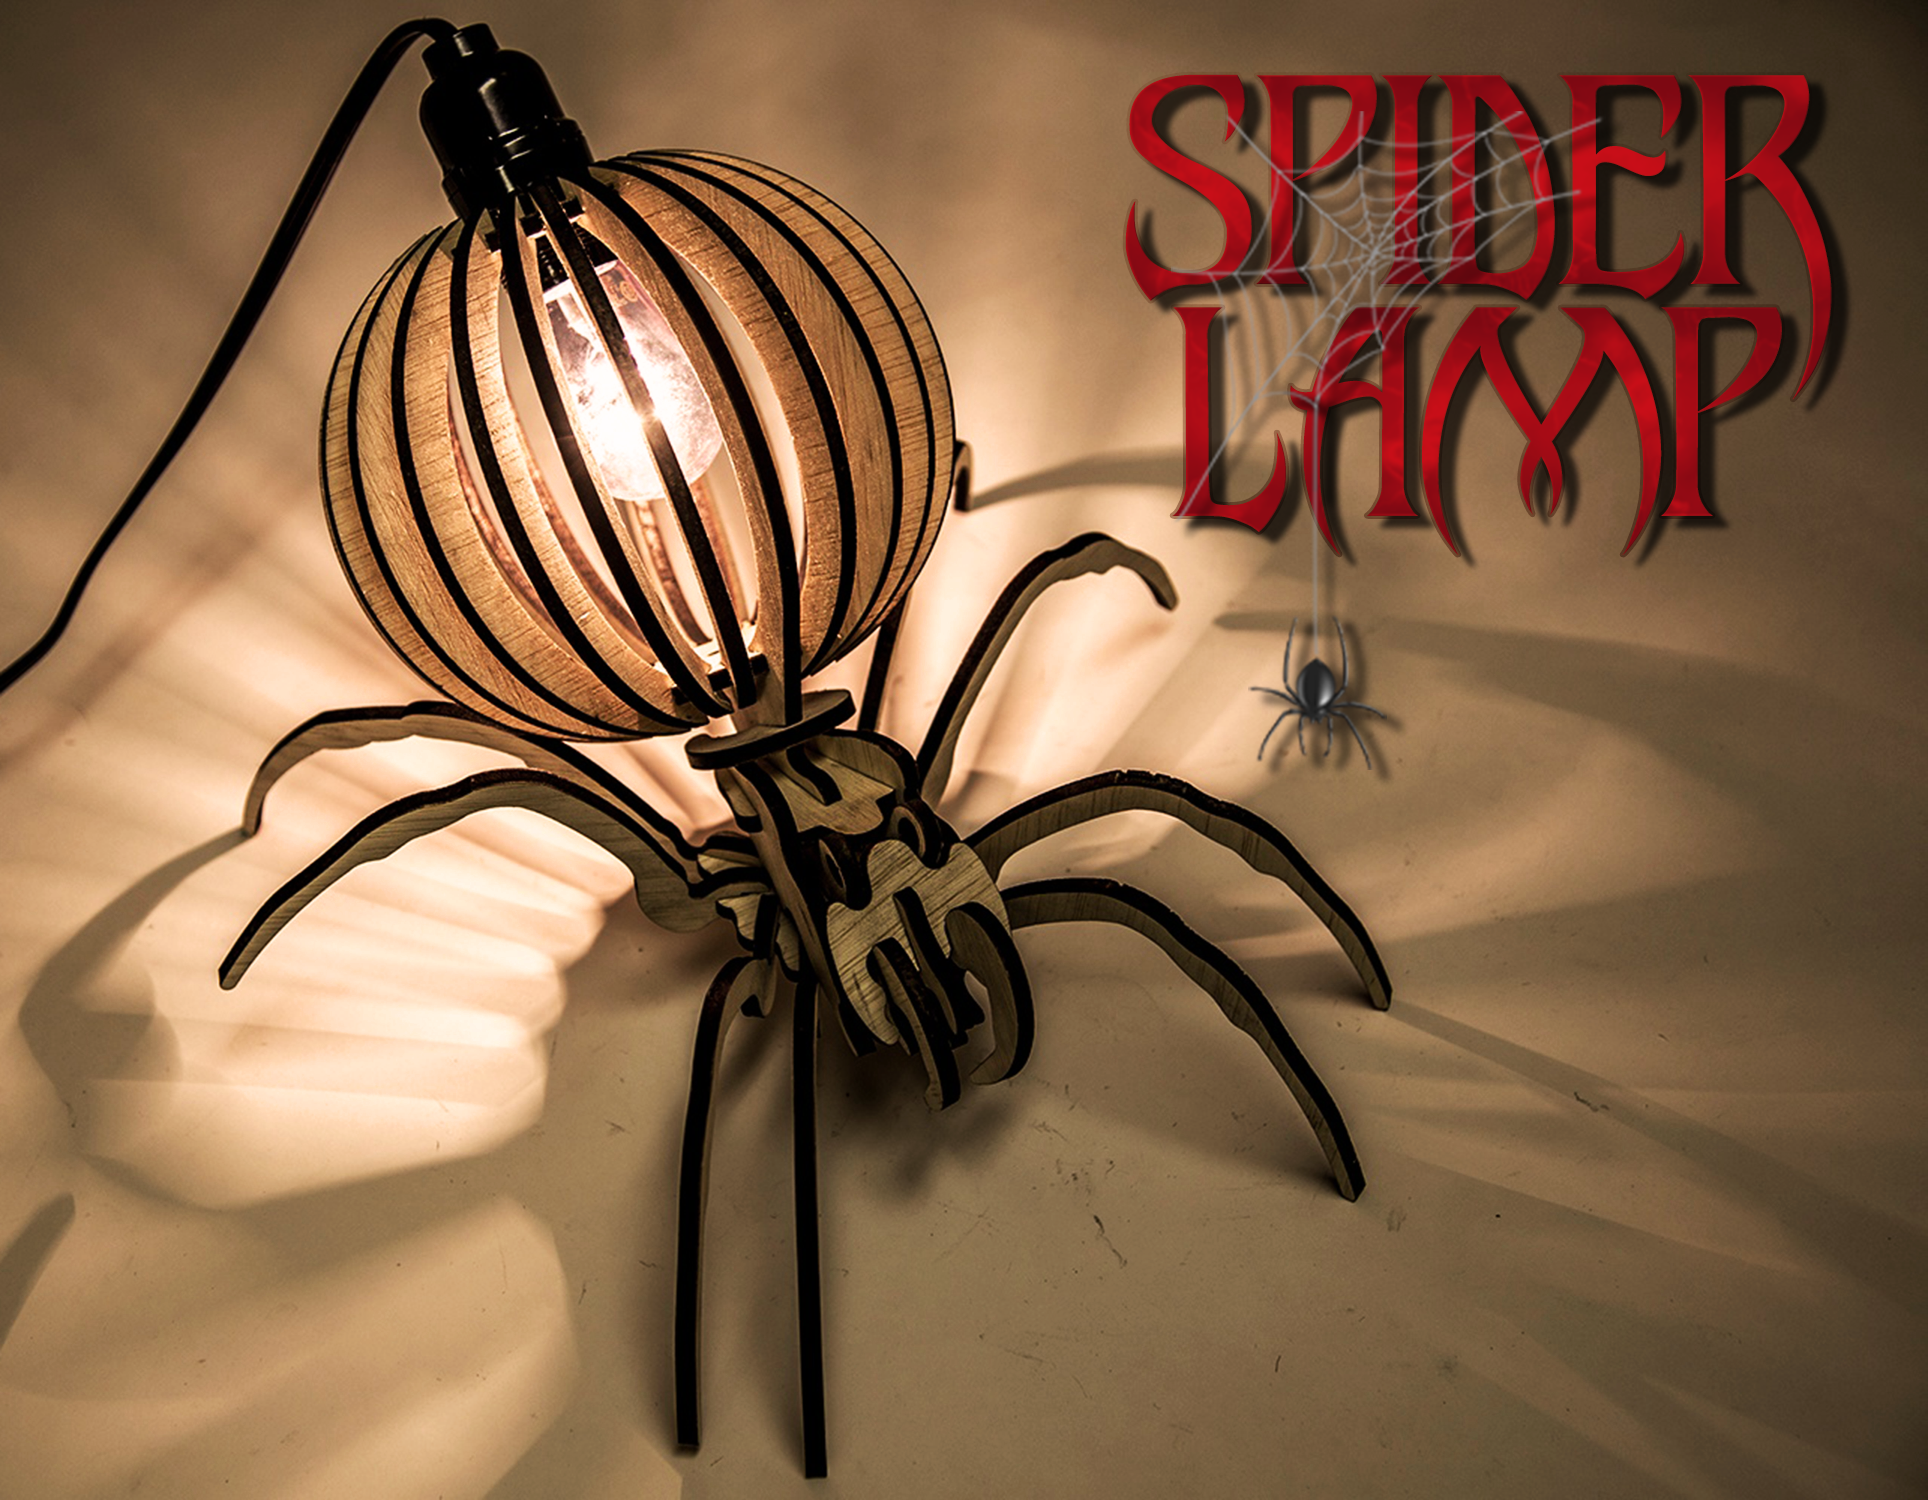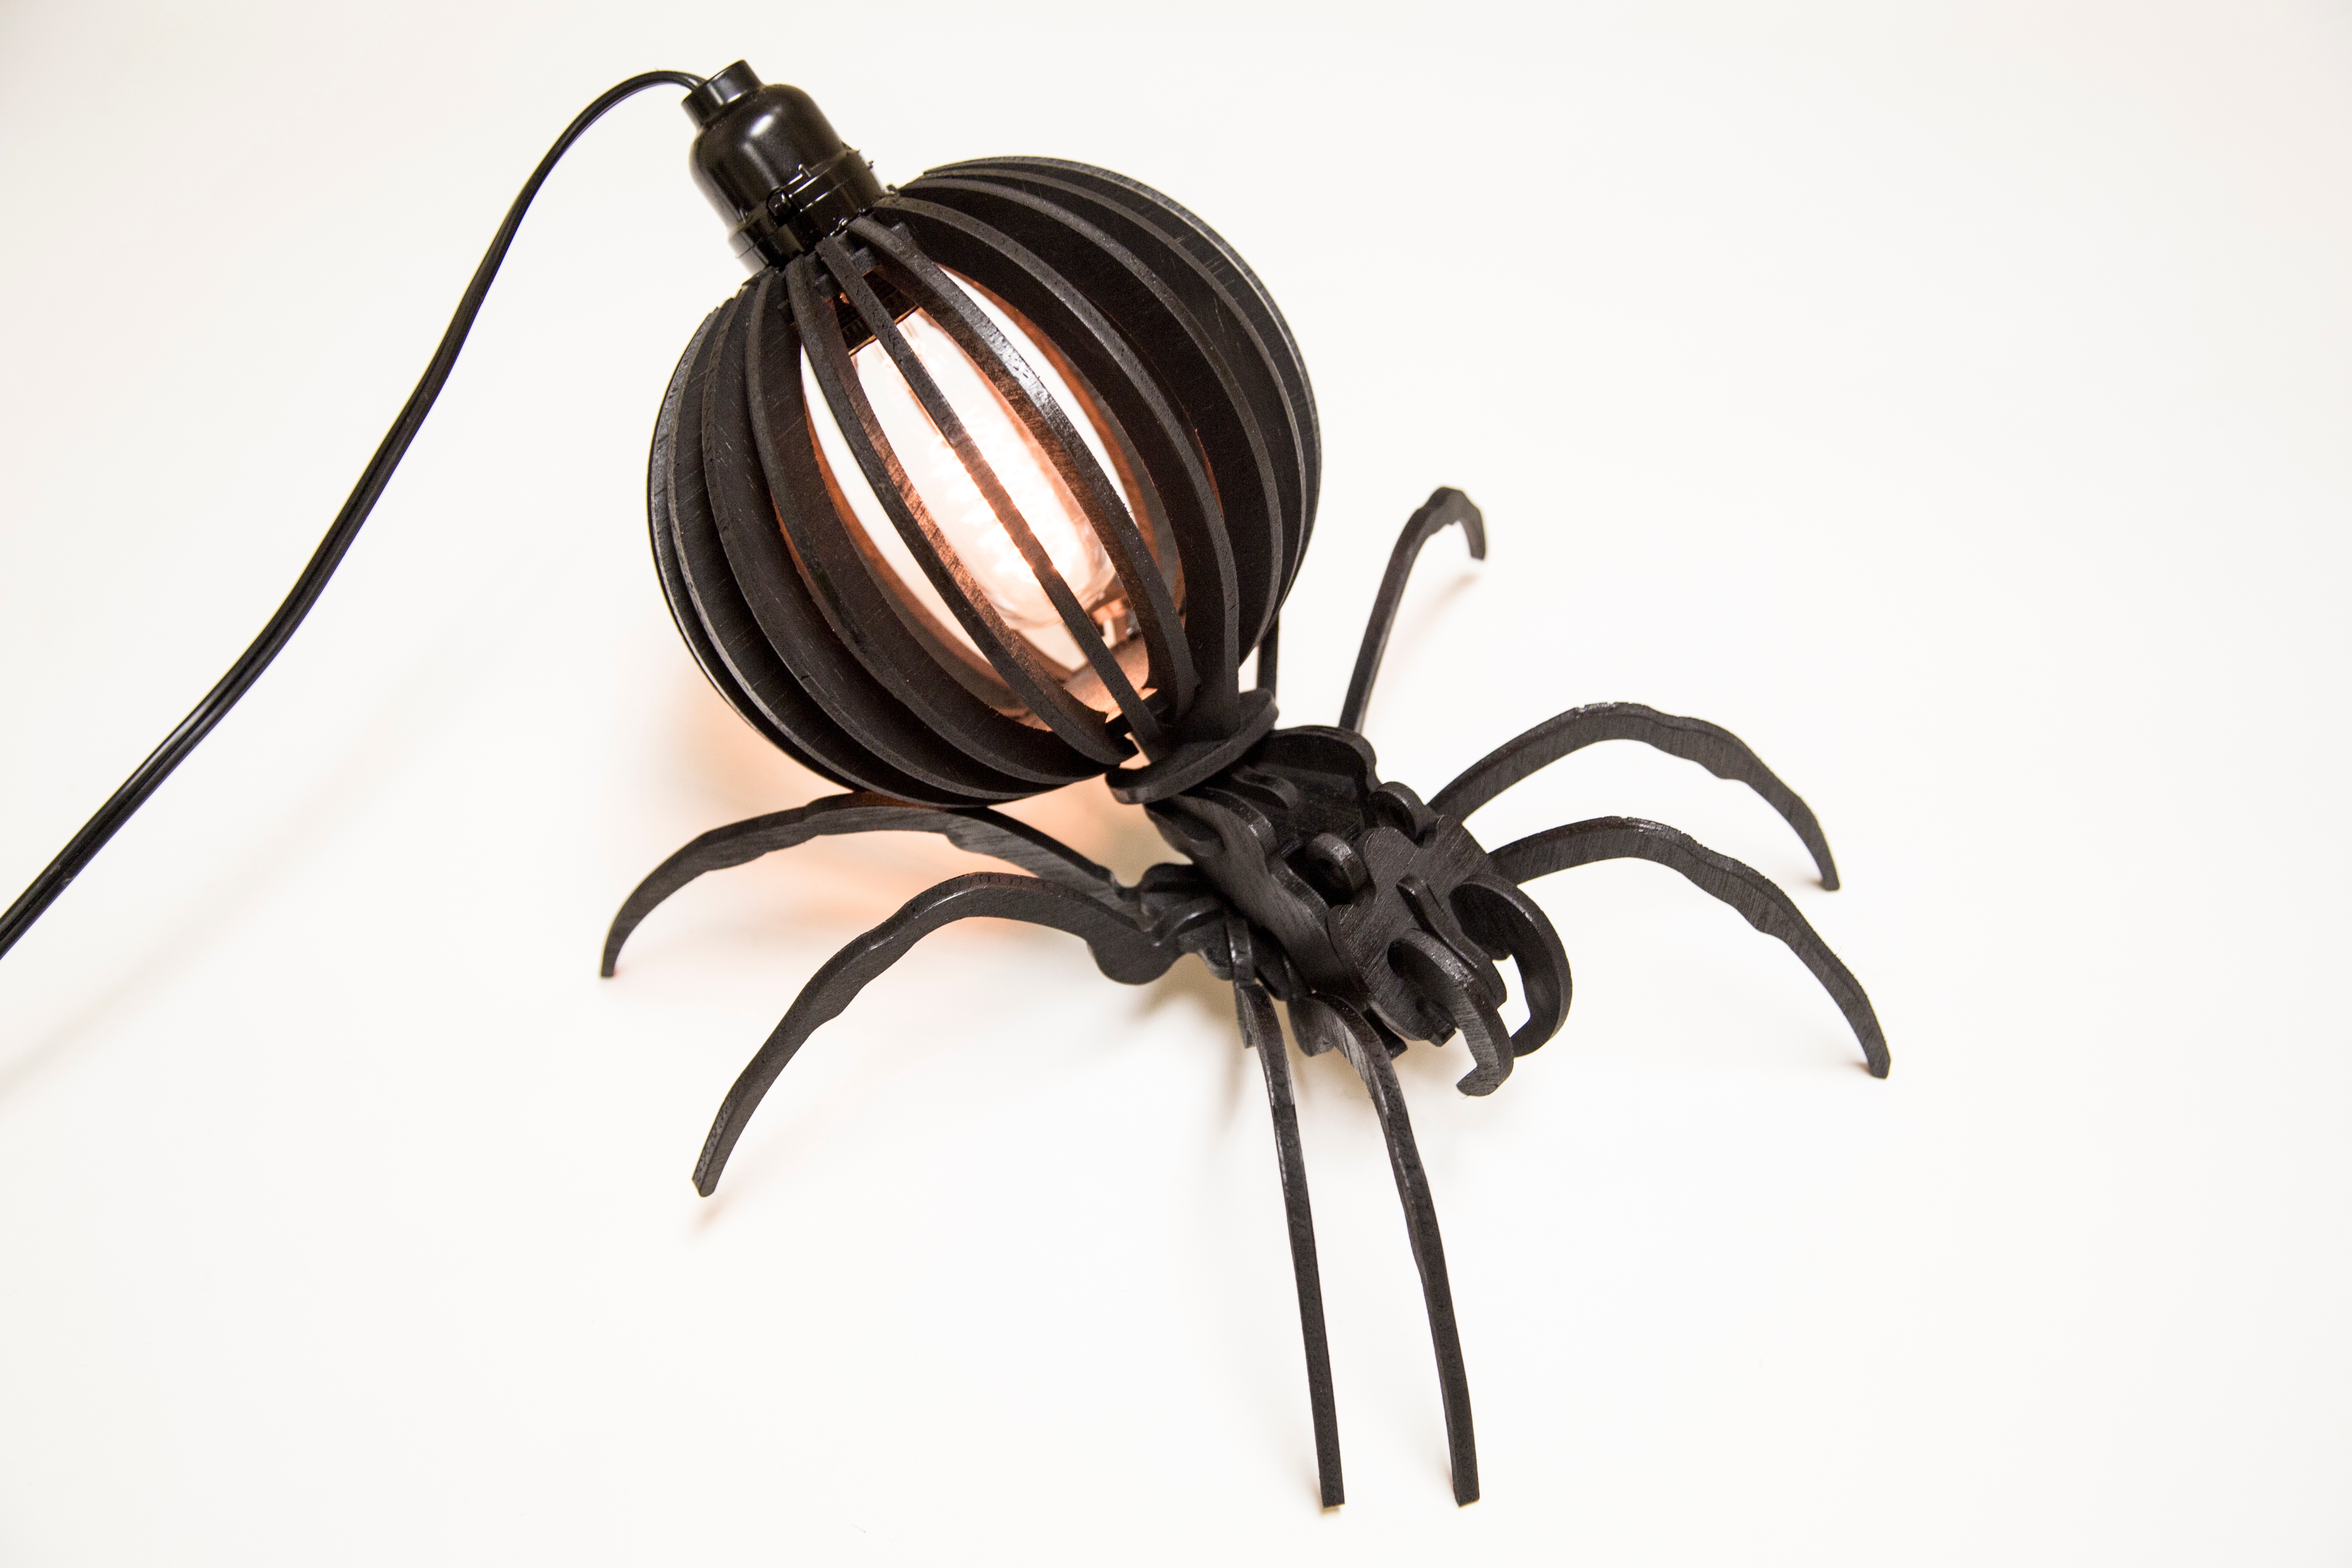
Spider Light Fixture
Illuminate any setting with the coolest laser cut project on the web. Whether sitting on your desk, or hanging from your rafters, this project will be sure to light up your life.
- Safety First: Ensure workspace is free of fire, electrical and other safety hazards. Be aware of all safety issues when cutting materials with a laser. Always have a fire extinguisher on hand
- Power on the laser and all of its components.
- Ensure that:
- The laser is powered and the boot up cycle begins on the screen.
- The cooling system is connected properly and water is flowing through the tube.
- The air compressor is powered and exhausting air to the laser head.
- The exhaust system is on and vented into a safe location. - Connect to RetinaEngrave 2.0 software using your machine’s touch screen to copy the software IP address into your favorite browser. The Wired IP address is displayed at the bottom of your touch screen.
- Import your design and adjust power and speed settings. Double check settings including the number of passes and cut order.
- Insert material into the laser bed. Use the focus tool to adjust to the top of the material. Focusing should be done each time a new material is introduced.
- Use the “Perimeter” function to ensure that the file will fit within the cutting area. Adjust accordingly.
- Run the job file. Do not leave a job running unattended.
CUT
Import the included files and cut all the pieces from their respective materials.
Assemble
First you will want to connect the slotted circle piece to the main body. The easiest way to achieve this is to find the correct notch and insert the slotted circle piece at a slight angle before coming together with the center notch.

Then you will want to assemble the head of the spider

At this point you can add the top slotted circle to the main rib of the abdomen.

From this point you can continue to add to add the rest of the rib sections until the abdomen/ where the bulb will stay is complete.


Once the abdomen is complete, you can move on to the legs. The two larger legs will notch on the bottom plate and be the back legs, while the other legs can go in any of the notches on the bottom plate of the body.


Then you will want to glue the circle piece with the 4 rectangles cut out of it to the light socket.

After that you will want to screw your bulb into the socket itself ( *note* make sure that your bulb is no bigger than 2 inches wide) this fixture was designed to use a bulb that is smaller than standard. Finally you will want to take the four U shaped tabs and slot and slide them through. These will hold the socket in place onto the abdomen of the spider.


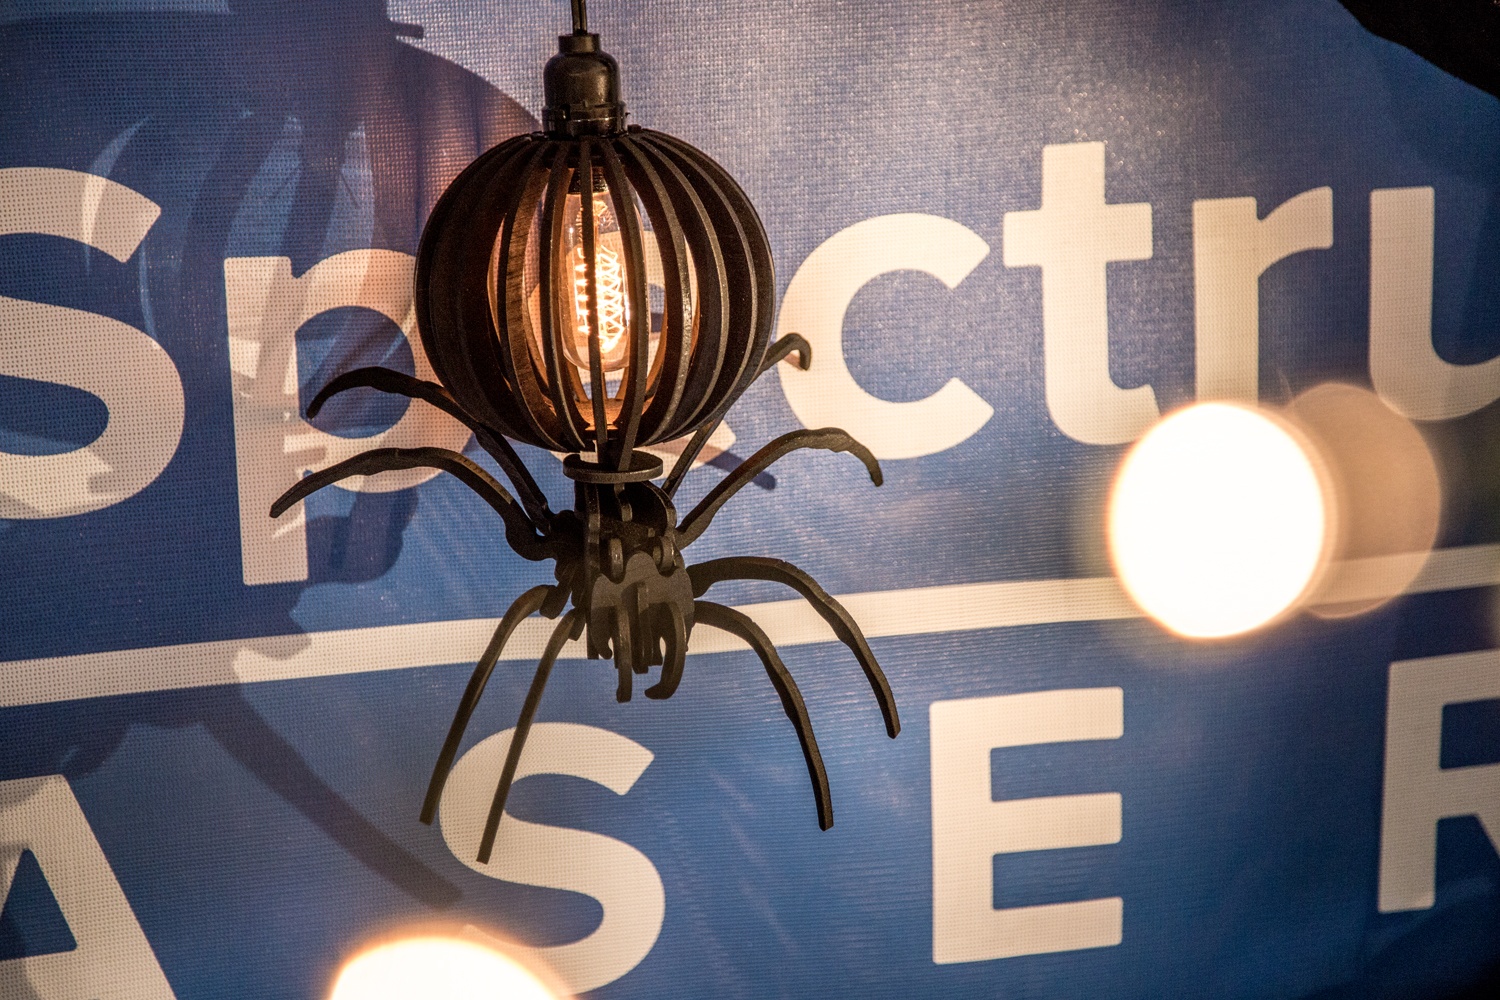
You can add paint, and either set on a flat surface or hang from the cord!

Well Done!


